Updated from May 22, 2025
Your RV roof isn’t just a lid; it protects you from the elements. And if neglected, it can lead to water leaks, mold, and even structural damage.
Regular RV roof maintenance not only helps you avoid expensive repairs; it keeps your rig ready for the road and you, your family, and your stuff safe and protected.
Know Your Roof: Types of RV Roofs and What They Need
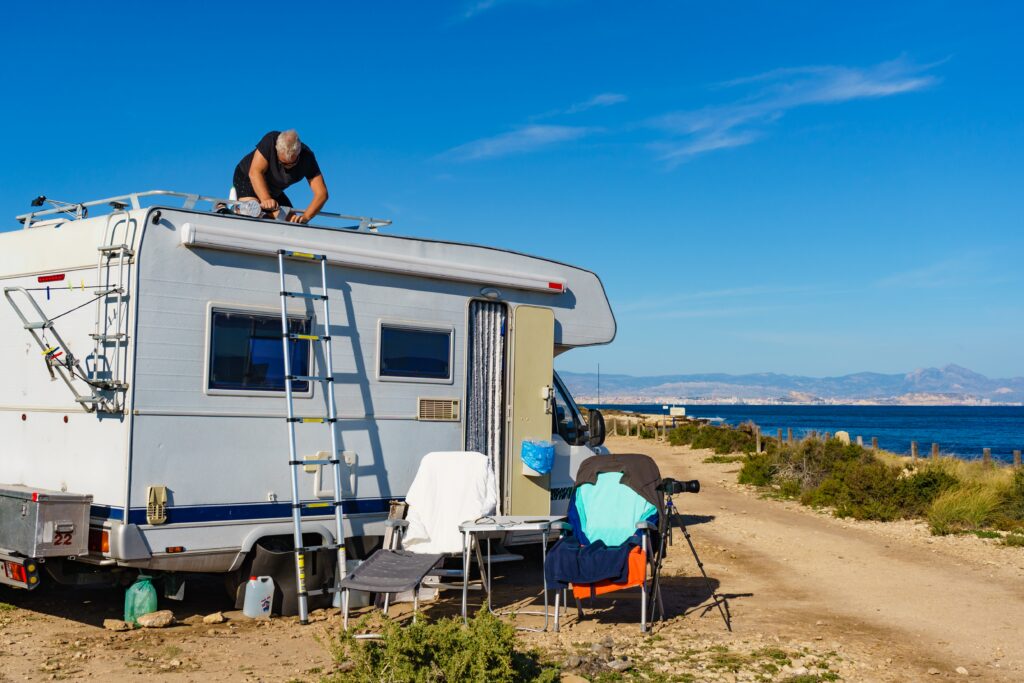
Most RV roofs fall into four categories. Knowing which type you have determines how to best maintain it.
| Roof Type | Maintenance Needs | Key Characteristics | Lifespan Expectations |
| EPDM (Rubber) | High | Prone to chalking and UV wear | 10 – 15 years |
| TPO (Thermoplastic) | Medium | Resists dirt and algae, seams are heat-welded | ~15 – 20 years |
| Fiberglass | Low to Medium | Durable but can crack if neglected | 18- 25+ years (with gelcoat upkeep) |
| Aluminum | Low | Rare on newer models, heavy but long-lasting | Typically 20 – 30+ years when well maintained—seams and fasteners being the weak points |
Each material requires compatible cleaning agents, sealants, and coatings. A good rule of thumb: always read the labels.
How to Protect Your Top Side
Take a consolidated approach to keeping any RV roof in good condition with a smart checklist. That includes:
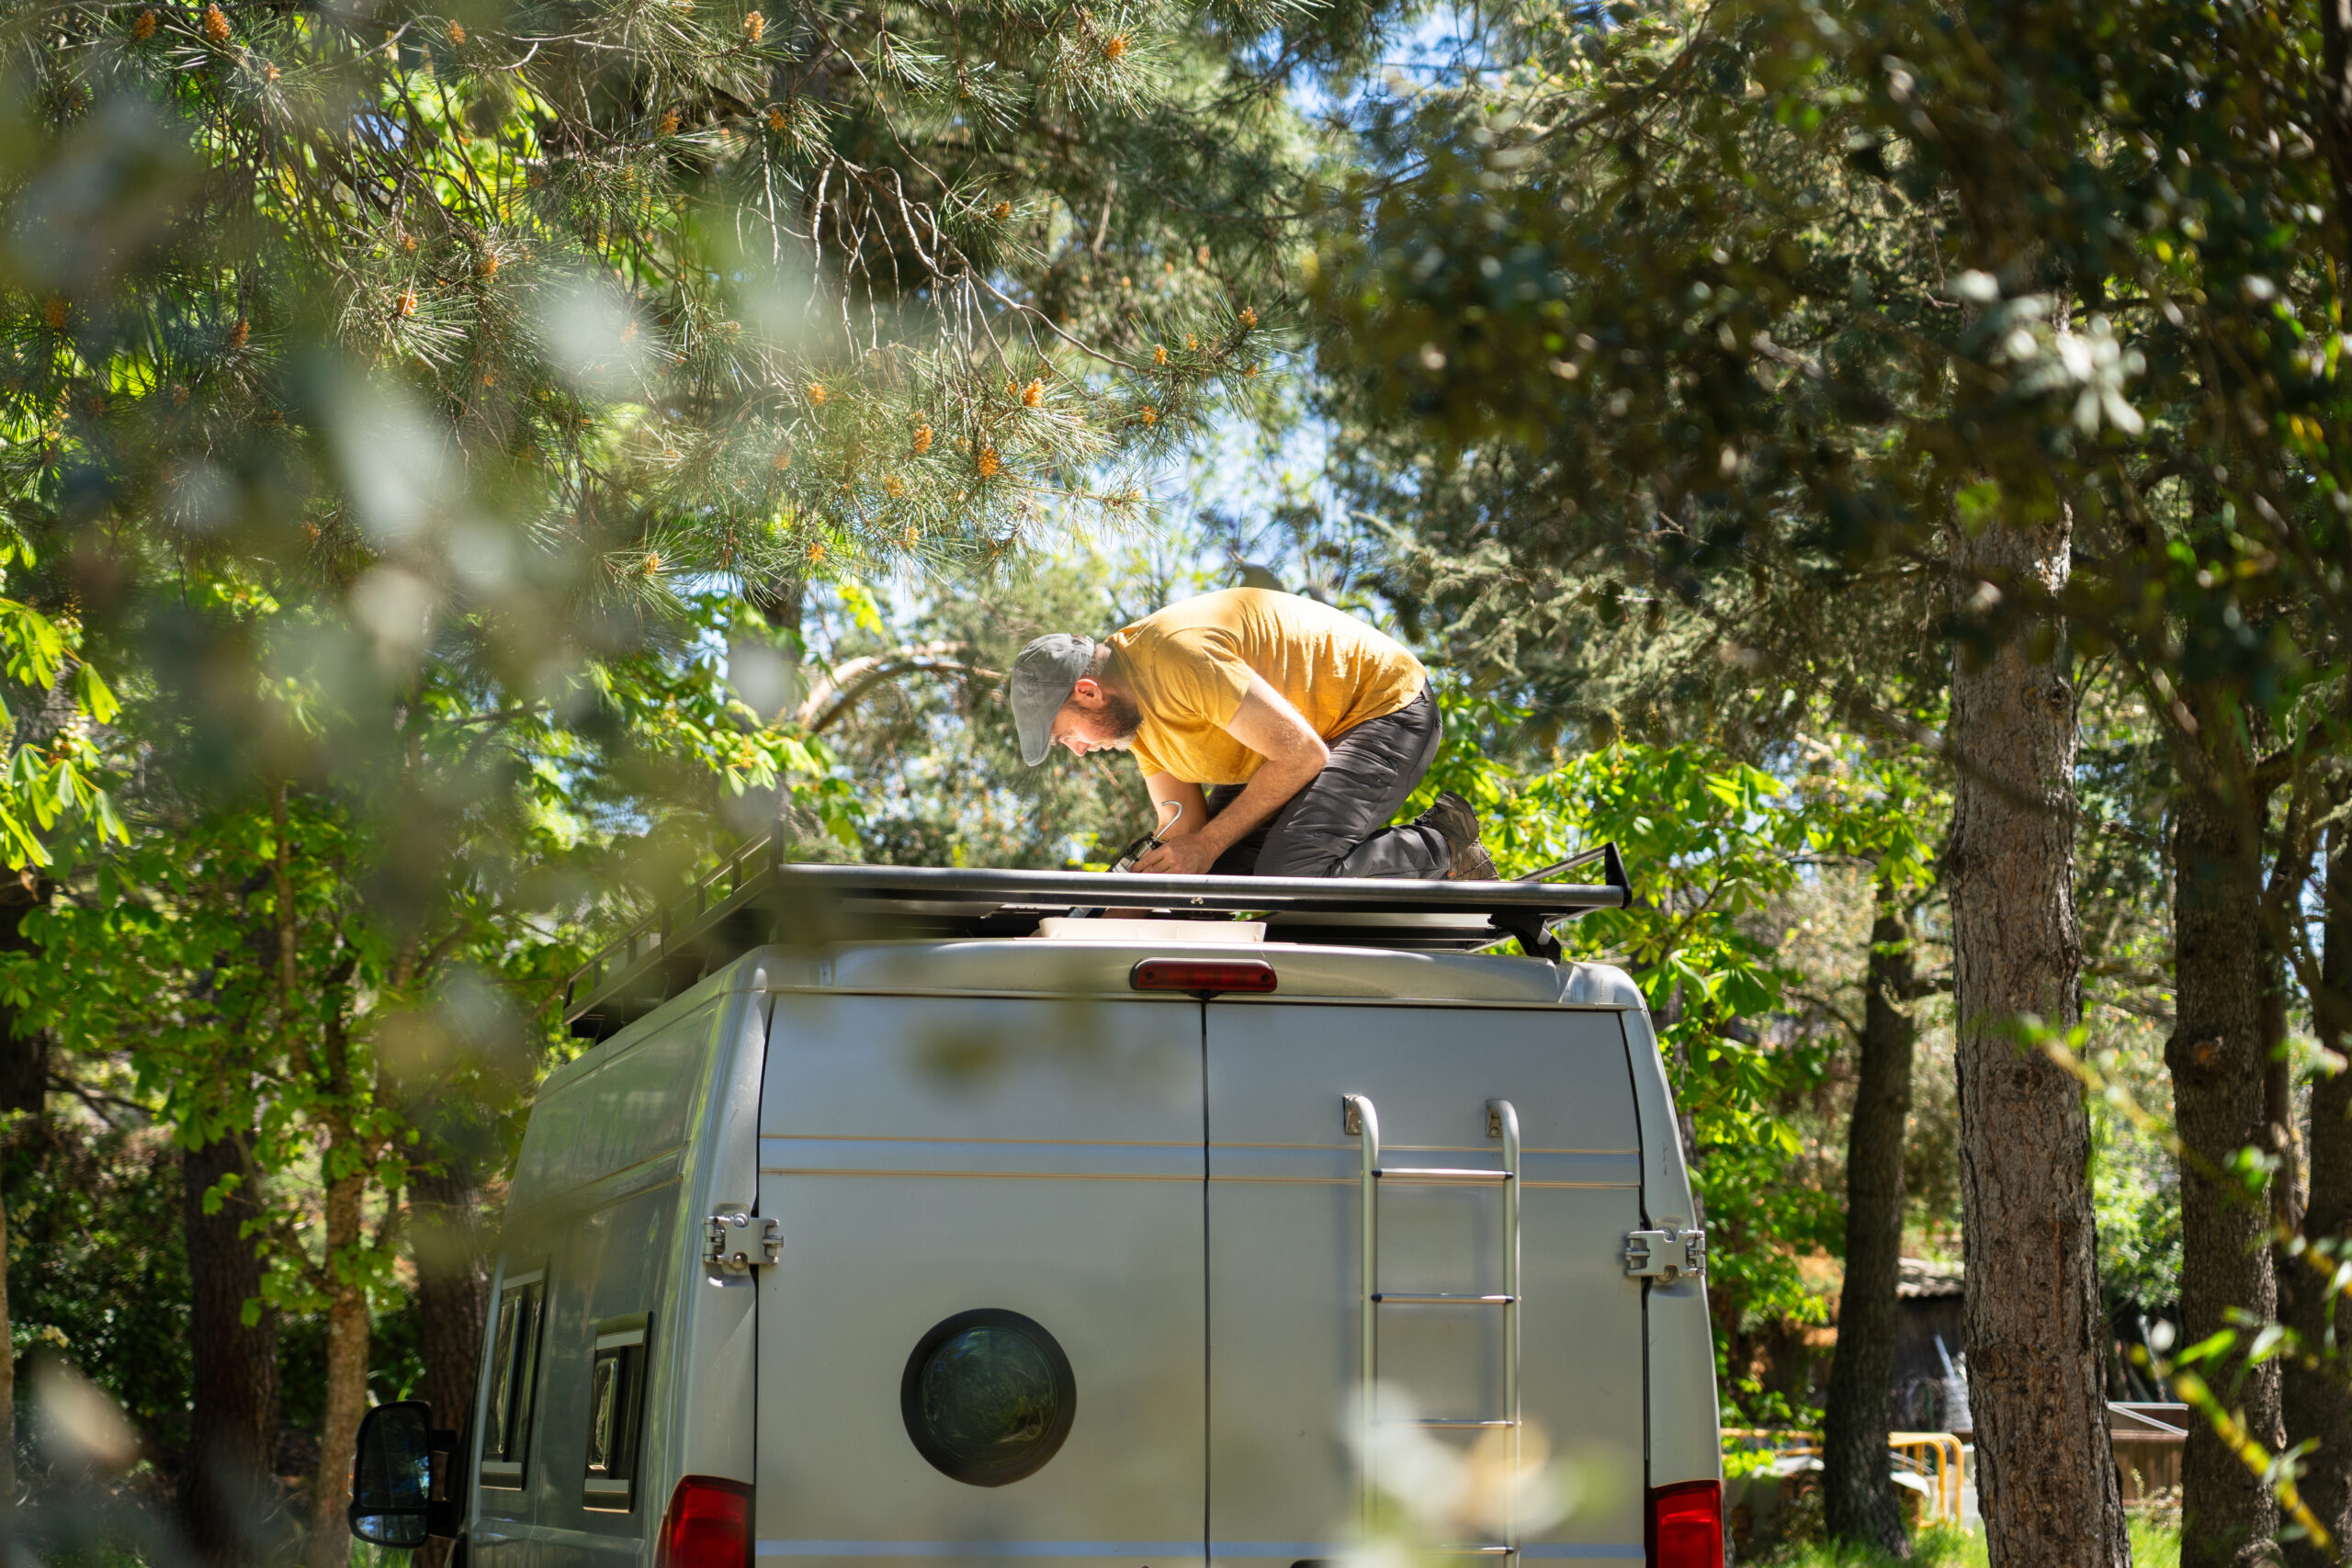
1. Inspecting Regularly
- Look for cracks, soft spots, or bubbling.
- Check seals around vents, skylights, AC units, antennas, and edges.
- Use a moisture meter inside the RV to detect hidden leaks.
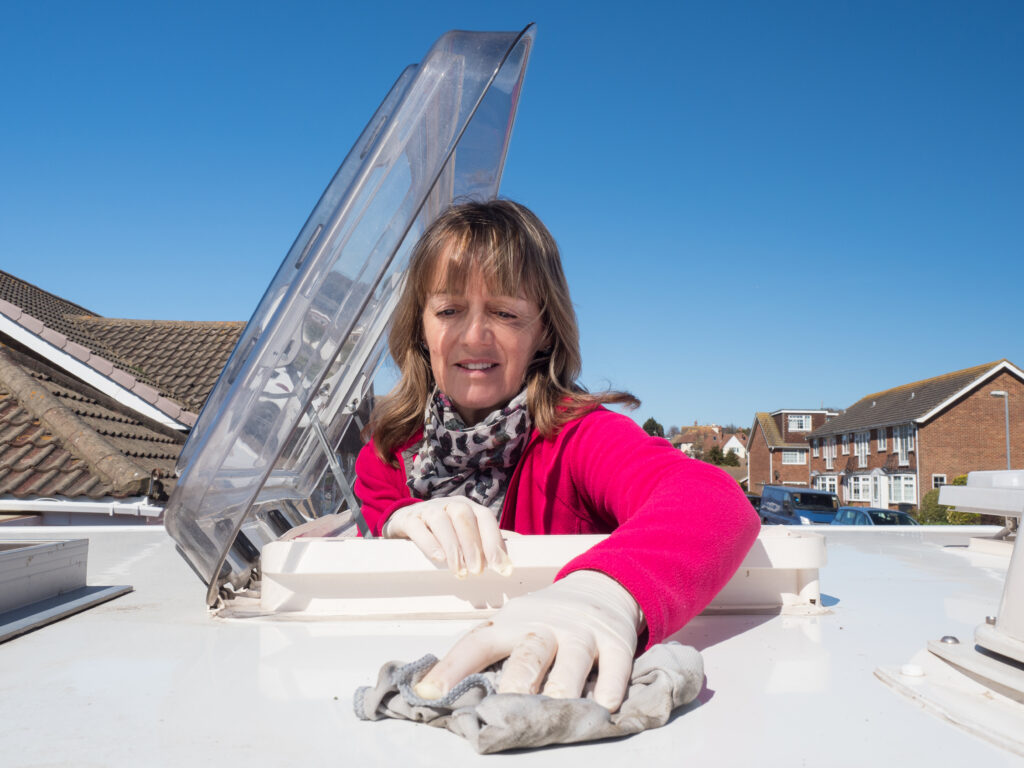
2. Clean at Least Twice a Year
- Use a roof-safe cleaner based on your material (for example, avoid petroleum-based products on EPDM [rubber] roofs as they can degrade that material. TPO is petroleum-resistant, but it’s still a good idea to check the label before you begin.)
- Rinse thoroughly to remove the residue, which can attract dirt or damage coatings.
3. Seal and Reseal
- Reapply sealant to joints, edges, and hardware every year.
- Use self-leveling lap sealant or roof tape as needed.
4. Protect and Coat
- Apply UV-resistant coatings every year or every other year, especially for rubber roofs.
- For fiberglass roofs, an RV-grade wax or polish can help prevent surface cracks.
5. Store Smart
- Use a breathable RV cover or store under shelter.
- Remove snow buildup and clear standing water as soon as possible.
Travel Trailer and Motorhome Roof Care Best Practices
Whether you drive a Class A motorhome, pull a fifth wheel, or own a teardrop trailer, these habits apply:
- Avoid walking on the roof unless it’s labeled walkable (use weight distribution boards if needed).
- Please be careful when on the roof. EPDM roofs especially get slippery when wet, and no one wants to slip and fall—especially off a roof!
- Install vent covers to allow airflow and reduce interior condensation.
- Include roof checks in your pre- and post-trip inspections.
Common RV Roof Issues—and How to Fix Them
When problems do arise, here’s how to handle them:
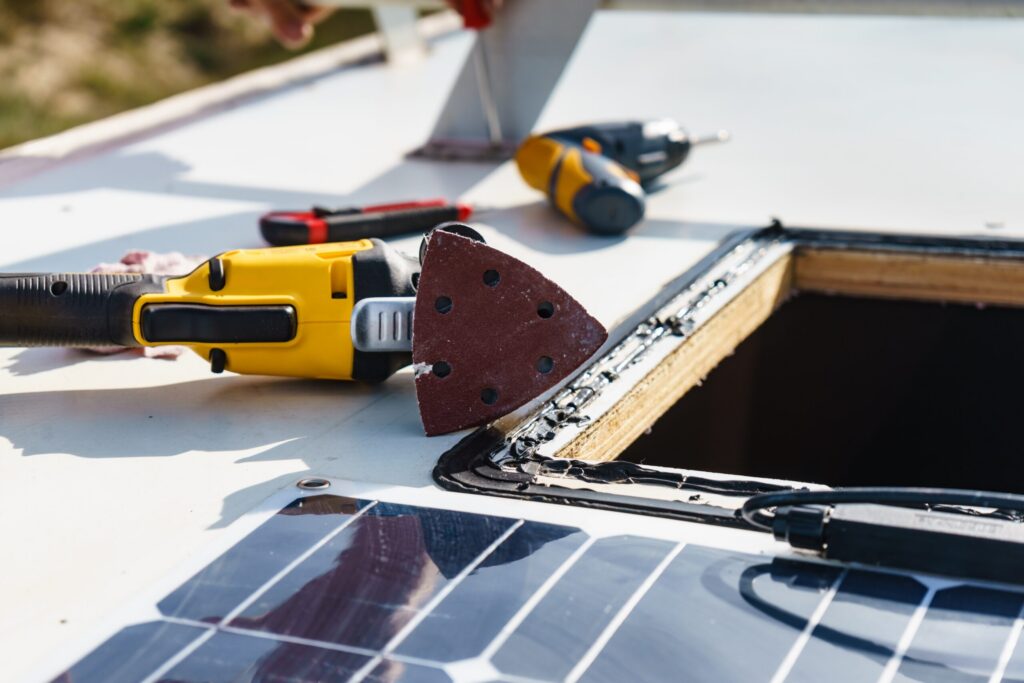
- Cracked Sealant: Sealant is the first thing to fail on just about any roof type. Usually at the seams, vent bases, and edge trip. Before adding the new, scrape out any old material—you don’t want to apply new sealant over sealant that’s already cracked or peeling, as it won’t bond well. Then clean the area well with a product made for your type of roof. Let it dry fully before you reapply a compatible sealant (self-leveling lap sealant for horizontal seams, non-sag sealant for vertical trim). Inspect the resealed areas again after your next few trips to make sure the bond is holding well.
- Loose Screws or Trim: Vibration from traveling can slowly work screws loose, and a loose screw is an invitation for water. Tighten hardware first, and then seal around it. If, unfortunately, the screw hold has stripped out, replace it with a slightly larger screw rather than adding extra sealant over one that sits and spins.
- Ponding Water: Standing water after a rain usually indicates a leveling or structural issue rather than a roof problem. First, check to make sure the RV is parked level. If water still pools in the same spot, you’ll want to check for structural sagging—which can be a sign that water damage has already begun. This issue is worth calling in a professional to inspect, as the issue is often below the membrane, not just on the surface.
- Hairline Cracks (Fiberglass): These often show up near stress points—such as on corners, seams, between roof panels, and areas that tend to flex when driving down the road. Start by lightly sanding the area, cleaning it well, letting it dry, and then sealing it with a fiberglass repair or patch kit. If you see cracks wider than a hairline or that run through the gelcoat into the underlying material, a professional assessment is a good idea to help you determine how far the issue has spread and figure out the next steps.
- Soft Spots or Spongy Areas: A soft spot underfoot is one of the most obvious signs of water intrusion, and it means moisture has already gotten past the membrane. This isn’t a surface-level fix. It usually requires cutting back the roofing material to see how far it goes and, if needed, replacing the wet material underneath. If left alone, soft spots can spread and compromise the structural integrity of your rig.
- Black Streaks (EPDM Roofs): Those chalky white-to-black streaks running down your sidewalls are a byproduct of UV breakdown: the rubber sheds a fine powder as it ages, and rain carries it down the sides of your RV. On the sidewalls, it’s just cosmetic. But it is also a pretty clear sign that the roof coating is wearing thin. Clean the roof with an EPDM-safe cleaner and then, once dry, top with a UV-protectant coating to slow future chalking. (For the sidewalls, regular car wash soap should be able to remove it.)
- Vent, Skylight, or AC Unit Seal Failure: Roof penetrations—such as vents, skylights, antennas, and AC units—are, understandably, where the vast majority of RV roof leaks start. Much more often than the roof membrane itself. Check the sealant around the spots at each inspection. Cracks, gaps, or pulled-away sealant are all indications it’s time to stop and reseal them immediately. This is one of the least expensive fixes on the roof and one of the most expensive when ignored.

Long-Term Protection Strategies
A solid roof strategy isn’t just about cleaning and sealing—it’s about planning ahead.
- Schedule annual professional inspections.
- Maintain a roof maintenance log.
- Upgrade to higher-quality sealants or coatings, especially if you’re in extreme climates.
- Check roof-related warranty terms—some require documented upkeep.
A Clean, Sealed Roof Is Vital for a Healthy RV
Regular RV roof maintenance may not be glamorous or all that fun. It is, however, one of the most important steps you can take to protect your investment. Whether it’s EPDM, TPO, fiberglass, or aluminum, the key is consistent inspection, cleaning, and sealing. Keep your roof in top shape, and you’ll stay dry, protected, and ready for whatever’s down the road.