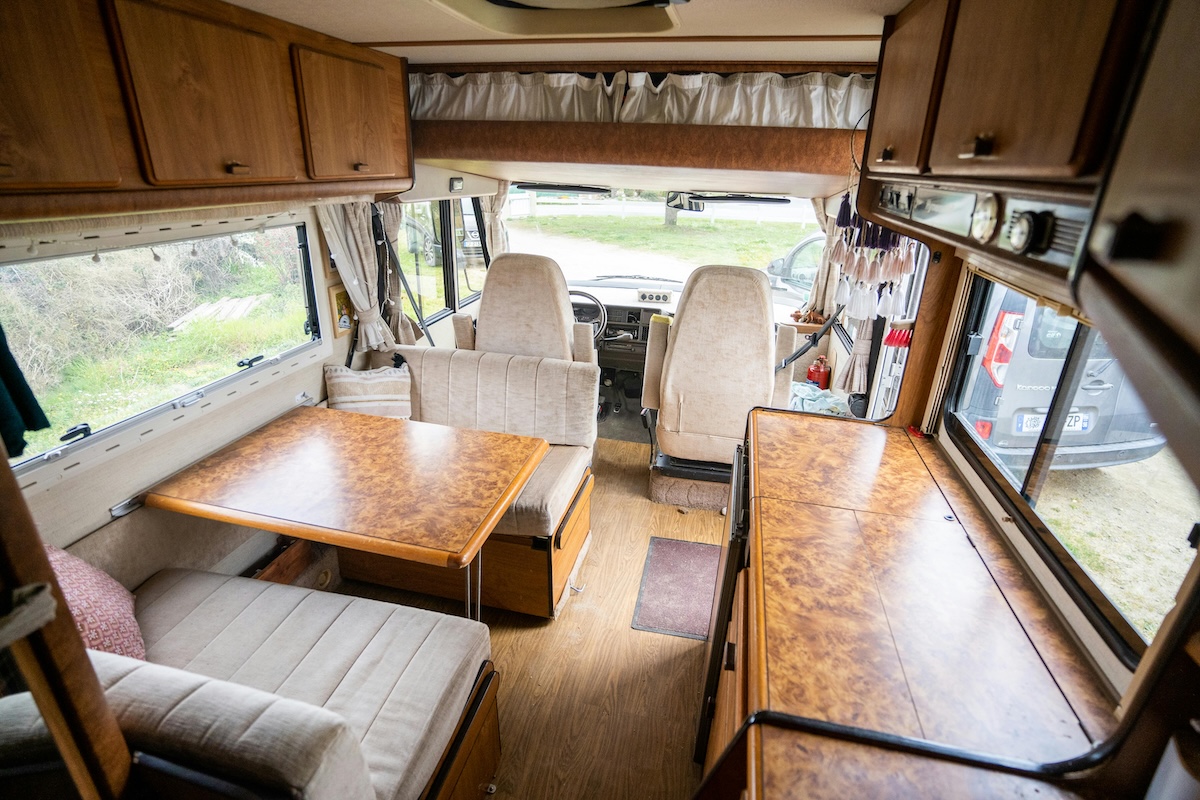
If you’ve ever walked across your RV floor and felt your heel drop just a little too far, you know how your stomach drops with it. A soft spot in an RV floor or wall isn’t always catastrophic. But it’s never something to ignore. And if you get even a hint of a problem, it’s time to slow down and do the “sponge walk.” That is, slowly shuffle across the floor to find out how widespread the issue is. That way, you can diagnose the problem, see if you can fix it yourself, and know if it’s time to call in the pros.
Where to Look First
Soft spots don’t just show up randomly; they tend to cluster in the places you’d expect. Which is why these are the first zones you should walk when you inspect your RV:
- Around the slide rooms. Because seals flex constantly, it’s a place where water can sneak in around the edges.
- Entry steps and doorways, which not only get a lot of foot traffic but can also be a common leak point.
- Under roof vents, skylights, A/C units, and any other places of roof penetration, which can become drip points.
- Around windows and exterior seams, especially if any caulk has cracked or pulled away.
- The bathroom floor, especially around the toilet base, shower pan corners, and where plumbing enters or exits.
- Exterior wall bases where the bottom trim meets the ground-facing edges. This is often the last place water goes and the first place rot starts.
Know Your Culprits (It’s Not Always Water)
Water tends to get all the blame for RV soft spots. And for good reason. It is often the cause. But not always. Soft spots can have more than one origin story. And misdiagnosing the cause can lead to failed repairs or repeat problems. Culprits include:
- Water intrusion—yes, it’s still the most common cause. A leak somewhere above or beside the soft spot can lead to rot.
- Age and compression—high-traffic areas in older rigs can simply be due to wear and tear with no leak involved.
- Delaminated fiberglass—wall bubbles and soft wall panels can look alarming. Sometimes they’re from water damage. Other times, they’re due to a bonding failure.
- Subfloor material failure—Luan and particle board, which are common materials found in older builds, can deteriorate even with minor humidity over time.
- Manufacturing defects—some units left the factory with inadequate lamination or subfloor fastening. If you’re buying a new-to-you unit, you may just be inheriting the problem.
- Pest damage—mice and insects can compromise structural wood and insulation from the inside out, even if there’s no visible entry point.
- Previous repairs—a patch job can fix (or hide!) damage while creating new soft zones right next to them.
DIY Diagnostic: Confirm Before You Commit
While you likely want to know what the culprit is as quickly as possible, you don’t want to just start cutting into your RV until after you know what you’re dealing with.
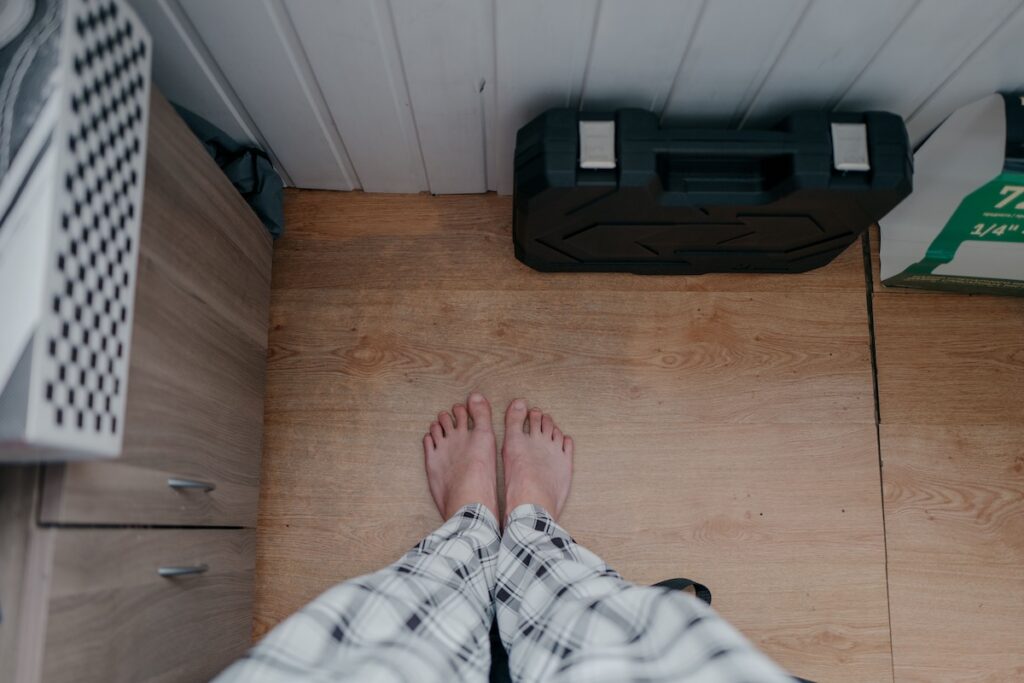
Again, that starts with the sponge walk—the slow, deliberate heel-pressure steps across the entire floor. Mark any soft zones with tape.
Next, go back through and do a tap test. Solid sub-straight sounds dense, while delaminated or rotted areas sound hollow when you knuckle-rap on the floors and walls.
While you’re up close, use your eyes to check for staining, bubbling, seam separations, or soft wall panels that flex when pressed.
You’ll also want to invest in a moisture meter (if you don’t already have one). This can be the single best tool for the job. Readings over 20% in the wood substrate indicate a moisture problem.
Finally, it’s time to carefully pull back the flooring if the meter and tap test point to a specific area. It’s better to gently lift the edge of a nearby seam than grab a power tool and make a significant (and harder to repair) hole. What you find under the seam may tell you everything you need to know.
Quick Fixes
Hopefully, you were able to catch the issue when it was small and isolated—before any structural compromise. If so, you have options, such as:
- Find and fix the source first—always. It doesn’t matter how perfect your repair if you’ve got an active leak. It’s just a waste of time, money, and effort.
- Epoxy injection—for any minor delamination where the substrate is still structurally sound, injected epoxy can re-bond layers without a total teardown and rebuild.
- Polyurethane foam injection—for voids under flooring, foam can be used to fill and re-support the subfloor.
- Sister in new support—if you can access the underside, sistering in a new joist or blocking beside a compromised one can help restore the strength without a full replacement.
- Fiberglass skin repair kits—if you’re seeing delamination without any signs of moisture, these can be used to re-adhere the skin. Just remember to follow the manufacturer’s instructions—especially the cure times—exactly.
- Reseal everything nearby—while you’re there, hit every seam, screw hole, and penetration point in the surrounding area with the appropriate sealant.
Photo: Matheus Bertelli
When to Call in the Pros
Even if you’re a highly capable DIYer, this isn’t a time to put your pride first. Call in a qualified RV repair technician if:
- The soft spot is larger than a dinner plate—the structural scope is likely beyond a simple DIY patch.
- Framing is involved—soft or crumbing wooden frame members require replacement, not filler. In the long run, doing it right once tends to save time, effort, and money from having to do it again and again.
- A slide room or exterior wall is affected—because these are complex structural and sealing systems, even small errors can compound quickly, making the issue worse.
- You find a pattern of multiple spots—this indicates systemic damage from a long-standing leak that goes much deeper than the obvious damage.
- The presence of black mold—remediation requires proper containment and disposal. This is a health issue for you, your family, and your pets. It’s not just a repair issue.
- You can’t identify the source—a repair without knowing the cause is temporary at best.
The Cheapest Fix Is the One You Never Have to Do
Every soft spot that ends up in a visit to the repair shop started small. A little gap in a seam somewhere. A little flex in the substrate. A vent screw that worked itself loose rambling down a bumpy road.
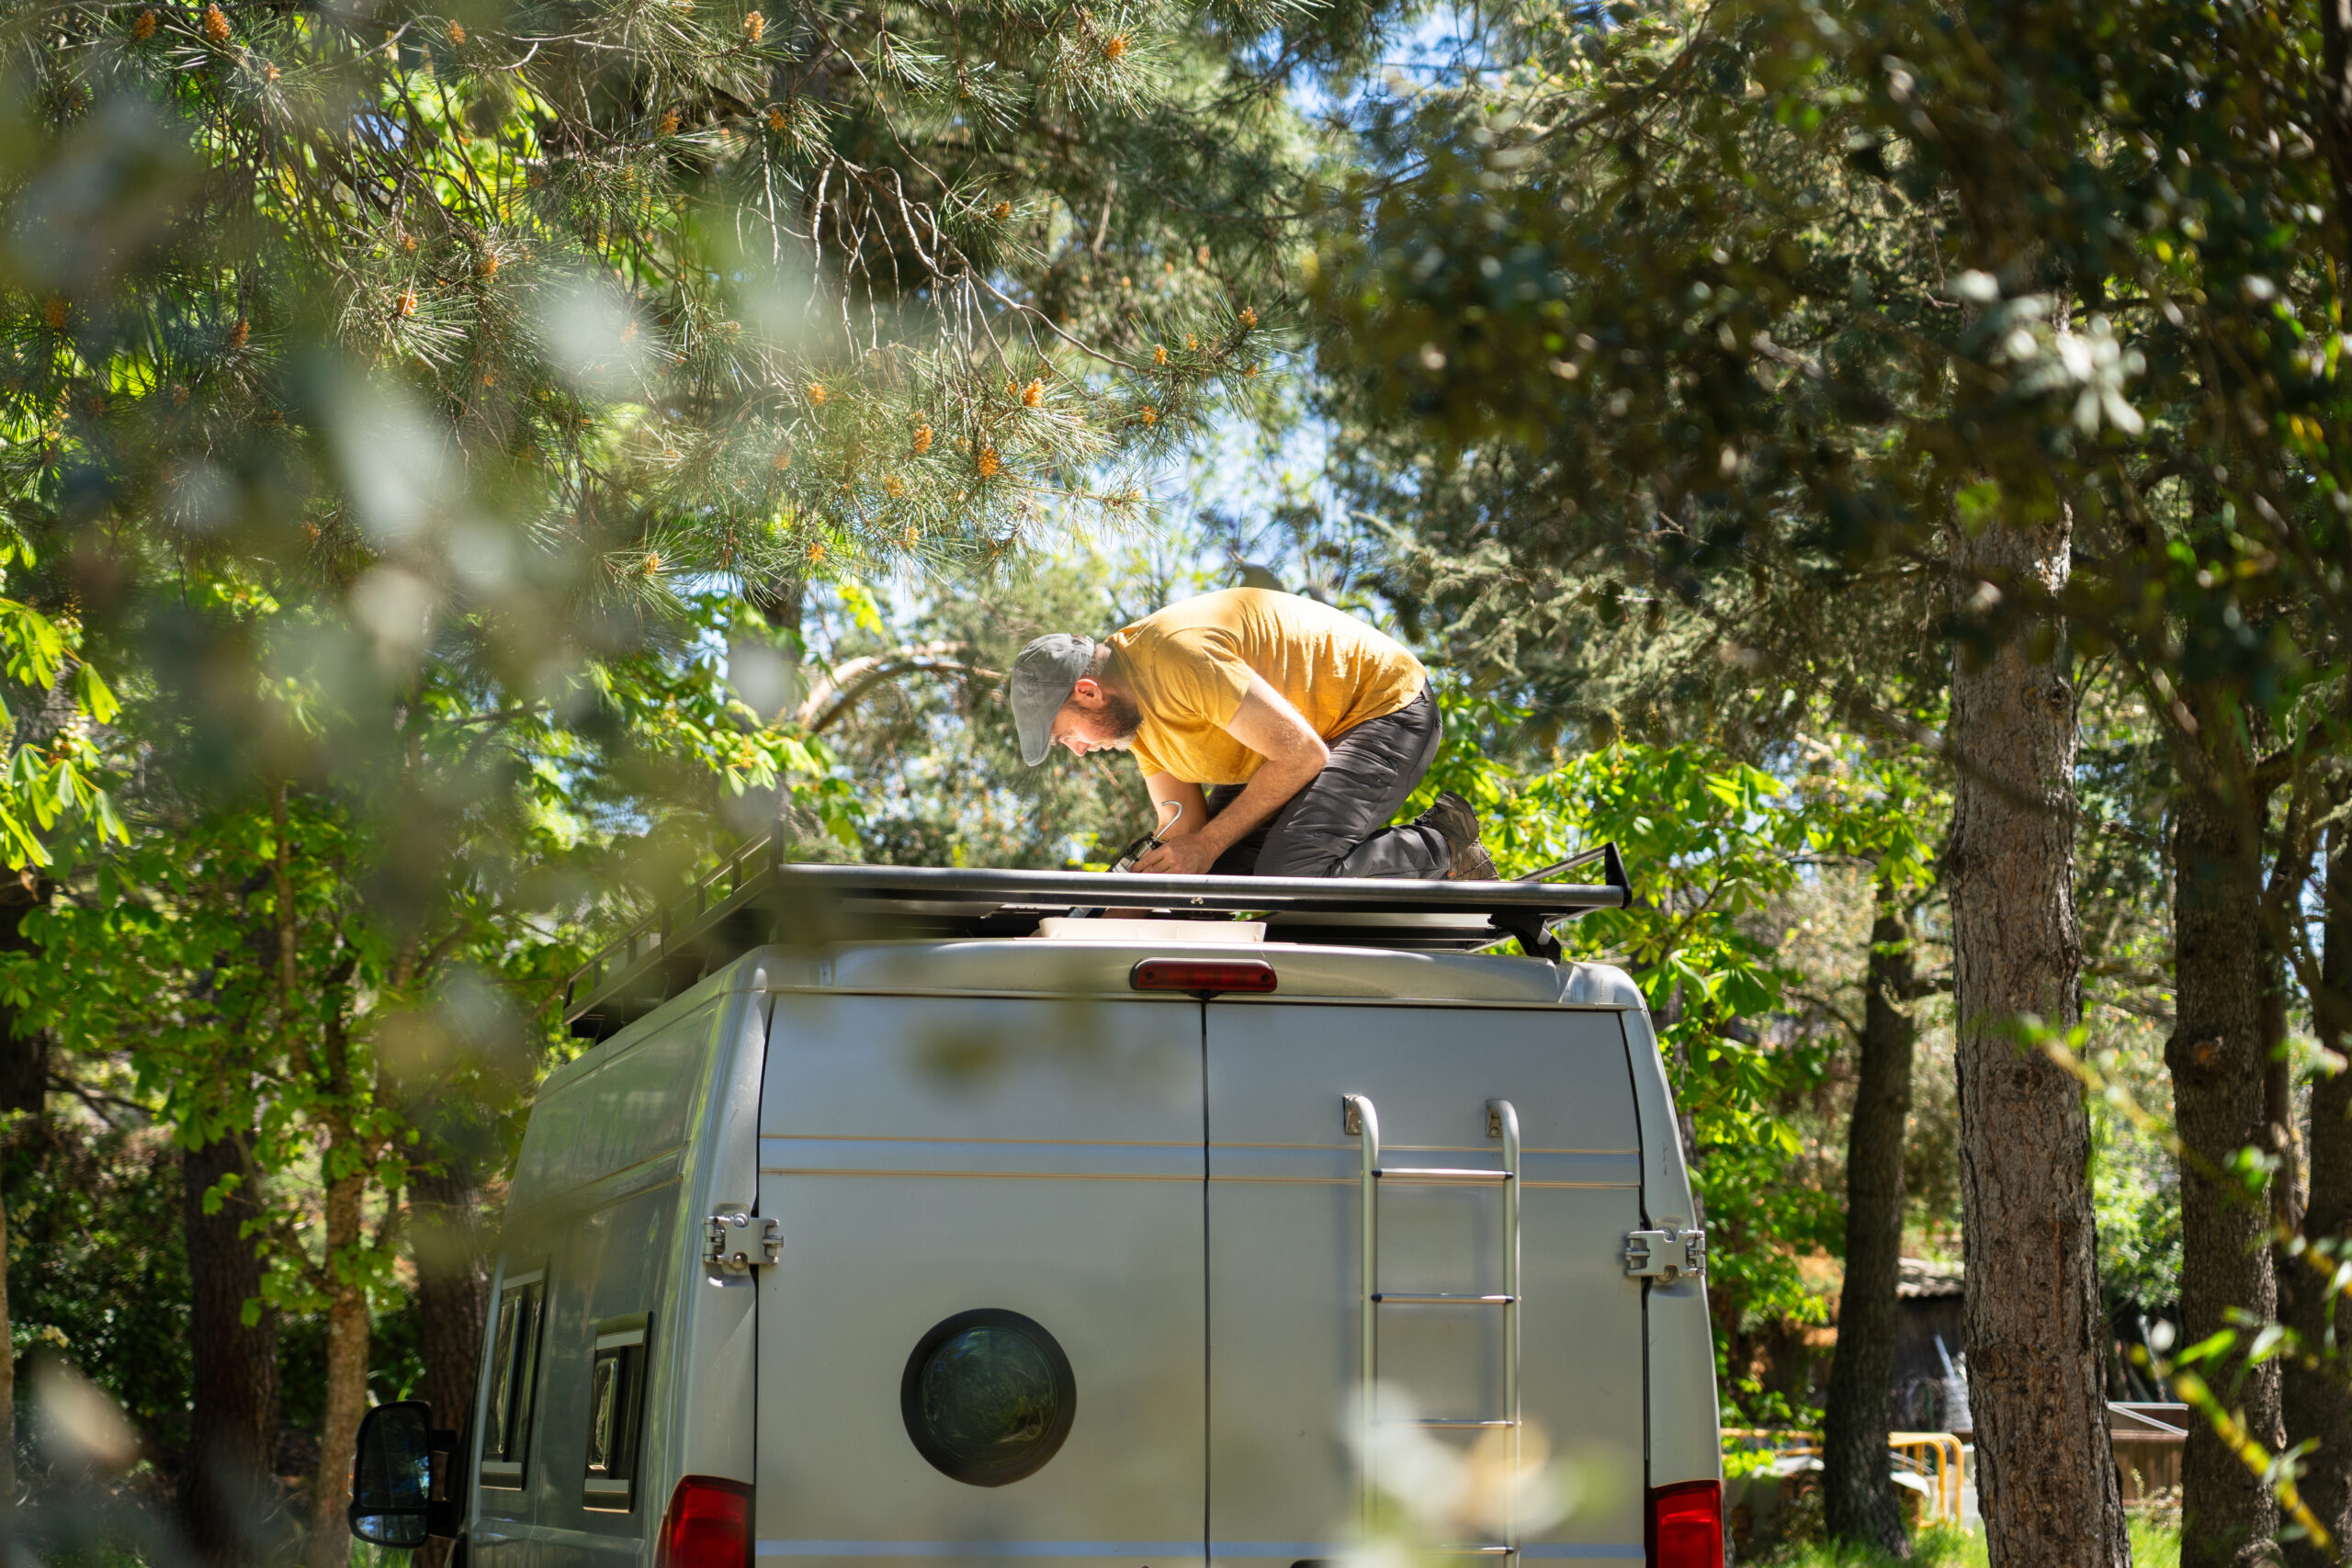
Once a year, walk the roof, and check every exterior seal—the vents, A/C gaskets, window frames, and any penetrations. Reseal anything that looks dry, cracked, or pulling away. It only takes a few hours, costs almost nothing, but can generally stop soft spots before they start.