

While I remember tent camping with fondness, there came a time in my (and my partner’s) life when I no longer wanted to wake up at 3 a.m. with a cold nose, a particularly pointy rock digging into my left hip, or my shoulder going numb from sleeping on the cold, hard ground (even with a Therm-a-Rest). I don’t think I’m alone in saying that’s exactly why I moved from tent camping to my own RV. Same great camping experience—just with warm, cozy nights with a real furnace (and bed).
That said, the furnace doesn’t get a lot of use during the warm summer months. In fact, in our rig, it usually doesn’t get turned on at all. But once the leaves start to change, the nights can get cold fast, and an extra blanket can only do so much.
Because it’s not needed for months at a time, though, the RV furnace is considered one of the most neglected appliances in an RV.
Fortunately, just a few simple RV furnace maintenance checks in the driveway will ensure it fires up on the first chilly night. So, you don’t wake up seeing your breath—or worse, have to head home early because your partner isn’t happy sleeping without any heat.
RV Furnace Maintenance Starts in the Driveway
If you’re like me and you want to extend your camping season, you need a furnace that works when you need it.
That all starts before you head out. Indeed, before you leave on the first trip that could make it frosty, you’ll want to make sure the outside vent is clear of debris—and nests. Vacuum the dust around the furnace and return air vent. Make sure your battery is charged, and your propane is sufficiently topped off. And of course, don’t forget to test your CO and propane detectors.
A few minutes in the driveway ensures safe, cozy nights at the campsite.
RV Furnace Vent Check
Before you get ready to fire your RV furnace up, you’ll want to remove the dust, debris, and any bugs that have made themselves a new home. Start by pulling off any vent covers, tape, screens, or dryer sheets you added during storage or the hot summer months. Your furnace needs to be able to breathe!
Next, grab a flashlight and take a peek inside. Bugs—particularly wasps, including yellow jackets and mud daubers—tend to be attracted to the smell of propane. Oddly enough. So don’t be surprised if your furnace is one of their favorite places to call home. Having discovered this firsthand, I’m always rather cautious before I start this step. Nothing wrong with wearing long sleeves and gloves, even on a warm day.
If you do find a nest or, hopefully, just some built-up debris, make sure the furnace and the propane are off and that the vent is cool before you remove the vent cover. Wipe it out with a damp cloth, and then gently blow what’s left out.
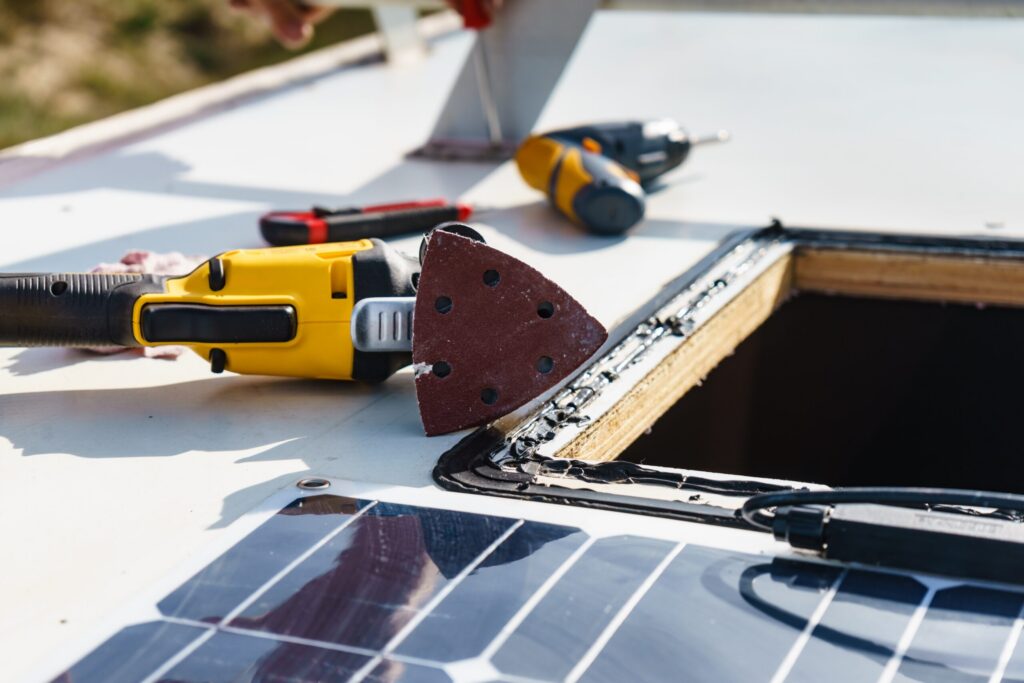
My new go-to tool for that job is the Sabrent Blowzer X6. We were recently gifted this little cordless air duster, and it’s all but replaced my larger air compressor—especially on the road. (The skinny crevice nozzle is helpful for this job.) Start on low and make sure you aim the debris out of the vent—not deeper into it. It’s also smart to put on glasses first. Old grit and dirt have a way of flying straight into your face and eyes.
(Quick note: The team at Sabrent sent us the Blowzer to try for free. That said, the opinion is entirely my own. And we added an affiliate link to help keep the lights on here at I Heart RVing.)
If, however, you find a yellow jacket nest that’s wedged deep into the exhaust tube—or if there’s a sooty streak around the vent—use this as your cue to call in a pro (unless you are said pro).
What about bug screens? To be honest, RVers are split. Plenty swear by them. Others (often experts) suggest that blocking or modifying furnace vents isn’t such a good idea.
If you do decide to use them, make sure you check them and clean them every month (another quick job for the Blowzer). You can also tape over the vent when your RV is in storage. Just remember to leave a note on the thermostat so you remember to remove it before you fire up.
How to Clean and Clear the Space
Again, start with the propane off and the thermostat down. Then grab a shop-vac and clear out the return air intake (the low grille that pulls air into the furnace). If it’s been a minute, you’ll probably find a surprising collection of dust bunnies, pet hair (if you have a co-pilot), and everything else.
Then vacuum around the furnace, wiping away any leftover dust with a damp cloth. Avoid spraying water or cleaners directly into the furnace, though.
While you’re at it, make sure there’s nothing, such as rugs or pet beds, covering the floor vents. You also do not want to add a filter in front of the air intake. It may seem like a good idea to keep out the dust and debris, but it can also block the air that’s needed for the furnace to light.
Then, take a look at the ducts to make sure there aren’t any loose connections or crushed sections. And clear the clutter. In an effort to “create space,” some people pile up belongings where they don’t belong. And if it’s beside or on top of the furnace, it could become a fire hazard. Anything choking airflow can make it run hot. Not good.
Check the Batteries and Propane
Your furnace needs power to run. That starts with the fuel—usually propane—and power to turn on the blower. Most furnaces are designed to run between 10.5 and 13.5 volts, and low voltage can keep the blower from spinning fast enough, meaning ignition doesn’t happen. In other words, if your battery is feeling old and tired, it can make a perfectly good furnace look broken.
Before you head out in colder months, make sure your propane is as full as possible. You definitely don’t want to risk running out in the middle of the night when temps drop well below freezing.
Test Your CO and Propane Detectors
We’ve all heard horror stories about people going to sleep at night and not waking up. CO (carbon monoxide), especially, is odorless, tasteless, and… deadly.
Wake up easy by giving your detectors a quick test before you take off.
MTI, the makers of Safe-T-Alert detectors for CO/propane found in many RVs, recommends testing not only when you pull your RV out of storage but before each trip—and weekly if you’re on an extended adventure.
Two quick notes:
1) The test button checks the alarm, not the sensor. It’s not enough to know the electronics and siren work. You want to make sure the sensors themselves are working. Use the manual to see how to test the sensors themselves.
2) Even the best detectors eventually wear out. MTI recommends replacing them every five years. Your detector may differ, so check the manual. Look for the date on the back and listen for the chirp indicating it’s reached the end of its life and it’s time to replace it.
If you sleep separately, make sure you have an alarm in each area. Even if your rig originally only came with one, this upgrade is worth it. Better to be safe than sorry.
And if an alarm does go off, turn off gas appliances, get everyone outside, leave the doors and windows open, and shut off the propane at the tank. Then call 911 once you’re safely outside. Don’t head back inside until the problem’s been found and fixed.
What Should a Healthy RV Furnace Sound Like?
Finally! It’s time to fire it up.
With your propane and thermostat turned on (with the temp bumped up a few degrees), it’s time to… listen.
Normal sounds include:
- The blower kicking on. You’ll feel it blow cold air for the first 15 – 25 seconds. This is completely normal as it clears the chamber.
- A tick-tick-tick sound as the igniter sparks. If you hear the ticking but there’s no flame, check to see if your propane is off or your tank is empty.
- A soft whoosh, indicating the burner is lit. (You should start feeling warm air.)
- After it reaches the set temperature (check your thermostat), the flame shuts off, but the blower keeps blowing for another 45 – 90 seconds to clear the leftover heat.
Smells a little dusty? Totally normal. It’s just the dust from your recent summer travel burning off. If, on the other hand, you smell propane—and the tank isn’t low—turn the furnace off, open the windows and roof vents to clear the air, and call in the pros.
Get an Inspection
You can discover a lot with a driveway check, but once a year, it’s still worth having a trusted technician inspect your whole rig—furnace included. Even the best DIYers can benefit from a set of expert eyes. Ask them to check DC voltage supply, ignition operation, blower motor condition, LP gas regulator, and CO and propane detectors to ensure your furnace is still working safely and efficiently.
Quick Pre-Winter Furnace Checklist
To make sure you’re ready for the cold weather to move in:
- Remove any vent covers, tape, screens, or dryer sheets
- Check the exterior vent for nests and debris
- Vacuum the return air intake and around the furnace
- Uncover floor vents and check ducts
- Clear any clutter from the furnace compartment
- Charge your batteries
- Top off the propane
- Test CO and propane detectors and check their replace-by dates (and replace if you’re there)
- Make sure your fire extinguisher is charged
- Fire up and listen
- Book your annual pro inspection, if you haven’t already
Warm, Cozy Nights Ahead
Leave the cold noses, stiff shoulders, and bruised hips to the tent crowd. With your vents cleared, your battery charged, and a thorough driveway check, you and your furnace will be ready the moment the temperatures drop and the falling snow makes you feel like you’re living within a cozy, warm snow globe (if you, like me, are into that kind of thing).