Before any big trip, parents often insist the kids hit the bathroom so they don’t have to pull over within the first 30 minutes. That’s good advice for kids of all ages! There is, however, another reason to spend a few minutes in your RV bathroom before you leave—to prevent leaks, odors, and frozen valves on a late-season trip, which is way worse than having to pull into the first rest stop you see.
While bathroom prep isn’t exactly the most exciting part of trip prep, spending a few minutes checking it in your driveway can save you an uncomfortable afternoon on the road—or even an early return. And once the temps start to drop, it’s even more important, as water that’s left in a valve, line, or tank can freeze and cause cracks that can be expensive to replace.
To help protect every cold-weather flush, we reached out to Daniel Brooks for expert advice on RV toilets. Daniel contributes practical, research-based RV maintenance guidance to RVFlushGuide.com, a resource focused on RV toilets, plumbing, holding tanks, and sanitation. Exciting stuff! His goal is to make common maintenance questions easier to understand through clear explanations and manufacturer documentation.
So, before you load that last bag, run through these five checks. Most are quick visual inspections—and you can be quickly on the road. Or, they’ll tell you it’s time to open the owner’s manual or book a service appointment.
What’s In Your Rig?
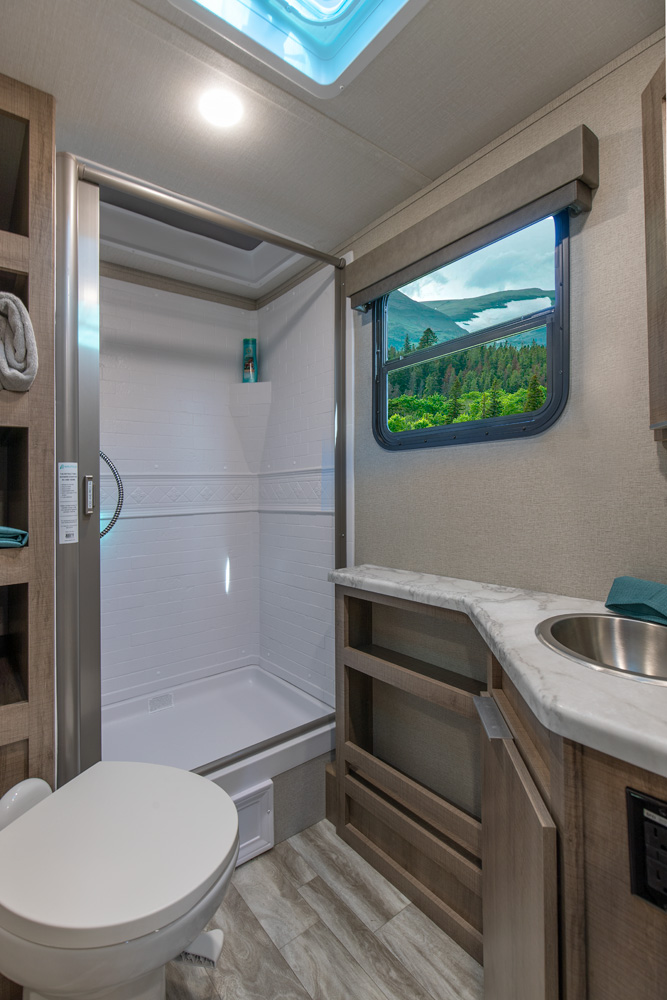
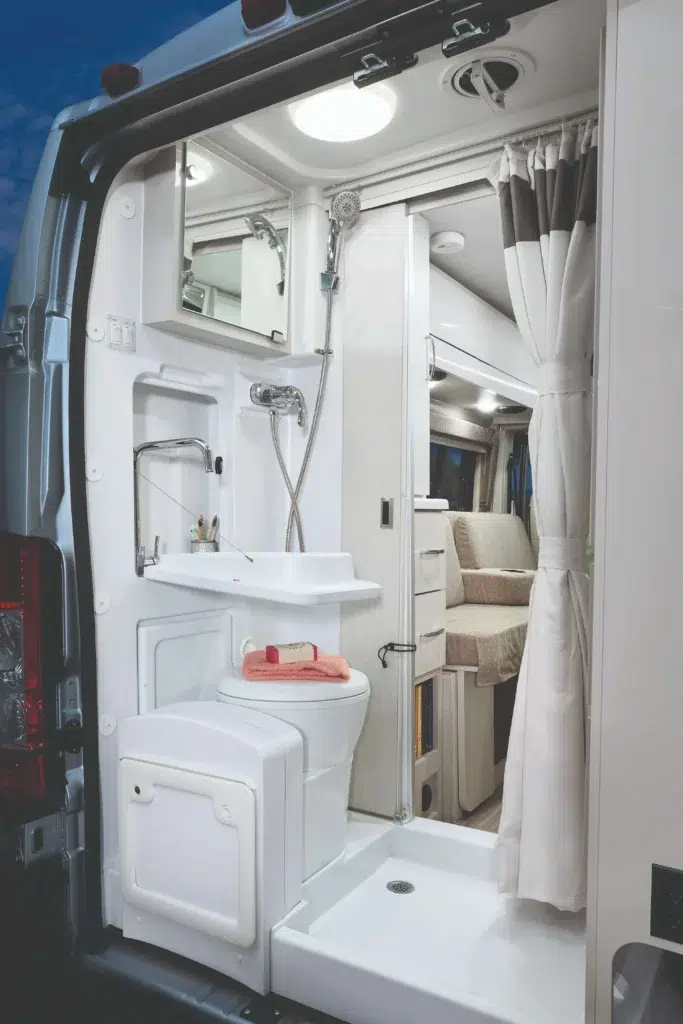
Before you start, it’s important to figure out which toilet is in your rig. Not all RV commodes work the same. For instance, a gravity-flush toilet typically empties into a fixed black tank. A cassette toilet, on the other hand, uses a removable waste tank. Some RVs have electric or macerating systems with additional components. Who knew there were so many options?
So, take a minute to figure out the type, brand, and model. You should be able to find it on the toilet label or in your RV manual. If you don’t have the owner’s manual in your RV paperwork, you can probably pull it up online—and you will need it. Especially if you need to replace a seal or interpret a flashing light as you prepare for adventuring in potentially freezing temperatures.
Check 1: Inspect the Bowl
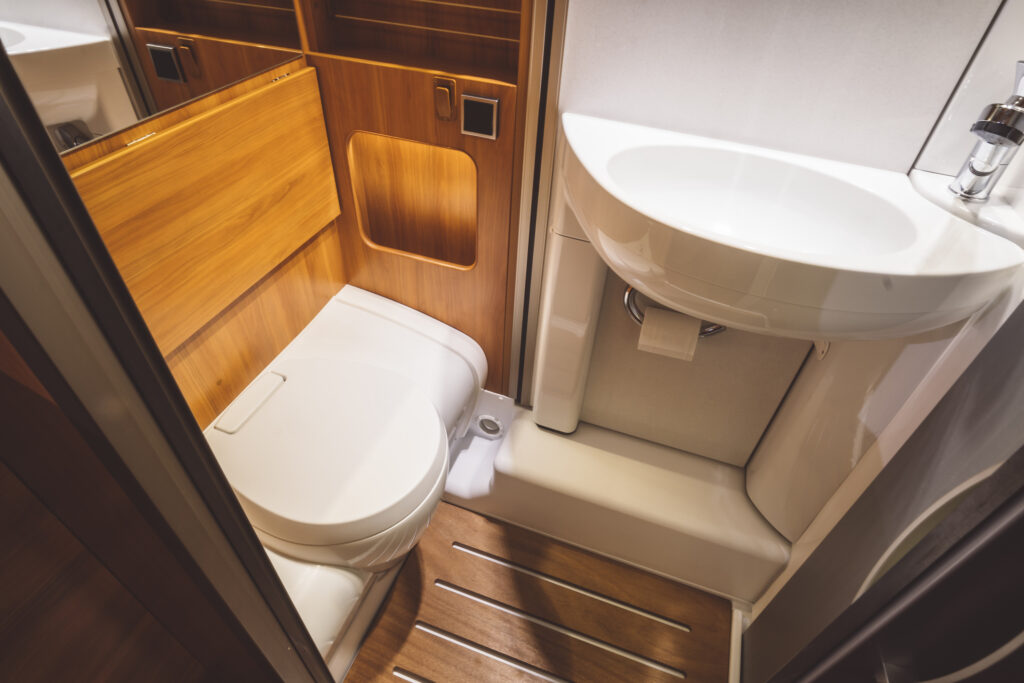
Before you turn your attention to the plumbing, take a look at the bowl:
- Is there grit along the flush opening?
- Does a visible rubber seal look cracked, misshapen, or dirty?
If you have a gravity-flush toilet, the water in the bowl does a lot to block holding-tank odors. If the flush-ball seal is dirty (or worn), it can cause the water to slowly drain and odors to build.
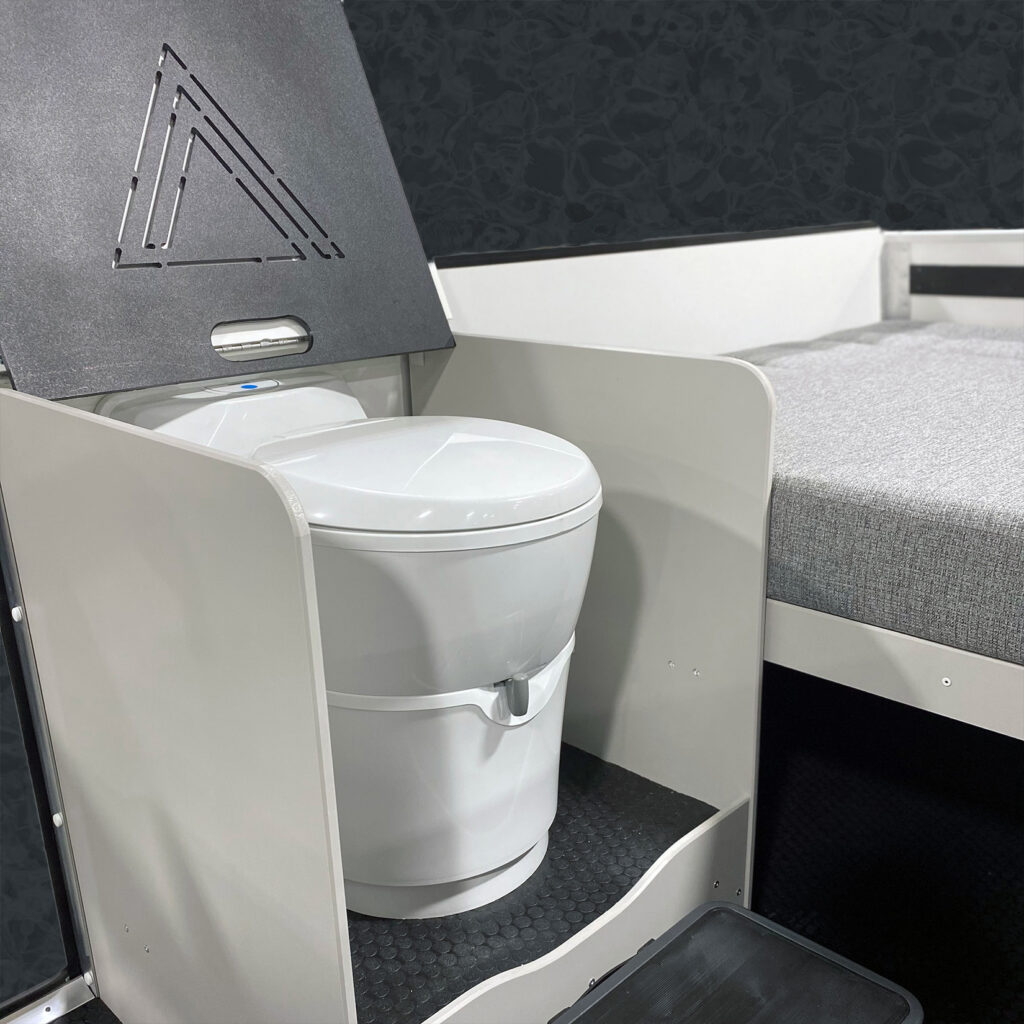
Cassette toilets, of course, have different sealing parts. That includes a blade or lip seal on the removable tank.
While it’s tempting to clean and lubricate accessible surfaces with whatever you have on hand, you’ll want to make sure the product is approved for your model. Thetford’s C200 manual, for example, cautions against petroleum jelly and vegetable oil on its cassette seals.
If you’re comparing products, this guide to RV toilet seal lubricants explains why brand-specific instructions really can make a difference.
Check 2. Check Your Water Connections
Now it’s time to take a look behind and around the toilet. Don’t worry, you shouldn’t have to move or dismantle anything.
Check the water-supply hose, inlet fitting, and surrounding floor for any drips, stains, or damp patches. A slow leak is typically subtle. Sometimes you may just notice a little moisture on a fitting after the water system has been pressurized.
After you flush, note:
- How smoothly the pedal or button responds
- How evenly the bowl rinses
- If the mechanism closes fully afterward
If there’s water where there shouldn’t be, shut off the supply to get it fixed before you go. You can’t “fix” a cracked plastic part by tightening it harder—that only makes the crack worse. A leaking fitting or damaged valve needs proper repair or replacement. Likewise, a torn seal likely needs to be replaced rather than adding another coat of lubricant.
On some models, a small trickle into the bowl after flushing is normal. For instance, Dometic’s Model 310 manual says it can continue for up to 20 minutes. With any toilet, if water flows well beyond what the manual describes as normal, the valve is likely the issue.
If the flush feels stuck, again, please don’t force it. Check the manufacturer’s troubleshooting section instead. That’s why it’s there.
Check 3. Check the Cassette or Holding Tank
Now we’re onto the less fun stuff because even a perfectly working toilet can’t do the job if there are issues with the waste system.
- For a cassette setup, confirm the removable tank is correctly installed, the cap is secure, and the accessible spout and seals show no obvious damage.
- For a tank setup, avoid overfilling, and empty it at an approved dump station if needed.
- For a conventional black-tank setup, check the tank level and sewer hose, fittings, and caps. Make sure the dump valves are closed for travel unless your RV manual says otherwise.
And it goes without saying, always store drinking-water hoses away from any wastewater gear.
If the weather’s mild, adding a few gallons of water to the empty black tank along with a treatment approved for your system can help keep solids from settling and drying onto the tank floor during the drive.
If, on the other hand, freezing temperatures are possible, follow your RV manual’s cold-weather guidance instead. Water that’s left in an unheated tank or valve can freeze, and some manufacturers recommend adding RV antifreeze to the holding tanks. (Again, the manual comes in handy.)
Check 4. Beware Odors
The nose can often spot trouble before your eyes do. Persistent sewage odors usually trace back to one of a few sources:
- dry bowl
- worn seal
- failing floor seal
- blocked vent
- conditions inside the tank
The fix, of course, depends on the source. The biggest mistake is to try to cover the smell with another tank treatment.
If you do smell some funk, check around the toilet base for moisture, discoloration, or soft spots in the flooring. Does an odor appear only during flushing? Or does it stick around when everything is closed?
Don’t forget to look behind the toilet for a wet line or valve. If sewage is leaking, the floor feels damaged, or you can’t safely identify the source, it’s not something you want to ignore—even for a single trip with a temporary workaround as a small problem can quickly become a bigger one.
Check 5. Get Ready for the Cold
Water expands when it freezes, so it only makes sense for trapped water to damage valves or plumbing connections.
Before you head out, check the expected overnight lows along your route as well as at your campsite. Just because you keep your bathroom at a cozy temperature doesn’t mean the pipes will stay warm and protected—especially if they’re running through a colder (non-heated) compartment.
Once again, it’s a good idea to pull out your manual to find out how your RV’s water system is protected, whether your toilet model is built for cold, and how to maintain it.
For instance, Thetford says its C200 cassette toilet can be used in cold weather when the toilet is in a heated location. If not, drain both the toilet and vehicle water system if there’s a frost risk.
According to Dometic’s Model 310 manual, on the other hand, the toilet is not intended for use in below-freezing temperatures, and you’ll want to winterize it and find another suitable place to do your business (hopefully your campground facilities are still open).
Instructions for the different models aren’t typically interchangeable, even when they’re from the same brand.
Once you arrive at the campsite, a few habits can help protect your plumbing even when overnight lows dip below freezing:
- Keep the dump valves closed. An open black or gray valve lets water sit in the valve and sewer hose, where it can freeze solid. One common fix is to let the tanks fill partway (say, until they’re about two-thirds full) and only dump during the warmest part of the day.
- Protect the fresh-water supply. A standard connected hose can freeze overnight. Use a heated drinking-water hose or disconnect at night and run off your fresh tank and water pump.
- Confirm your tank heaters work. If your RV has holding-tank heater pads or a heated underbelly, test them before you pull out of the driveway. Many run on 12-volt power, so make sure your battery and power plan can keep up.
- Watch the cold spots. Plumbing behind access panels and in exterior compartments are often found outside the heated living space. Opening interior cabinet doors near those lines lets warm cabin air reach them.
- Keep it warm, not hot. Don’t force a frozen flush mechanism, and never use an open flame or excessive heat to thaw plumbing.
- Pack a bathroom kit. RV-safe toilet paper, disposable gloves, a jug of RV antifreeze, the owner’s manual, and a spare seal kit that matches your toilet model. If something does go wrong, you’ll be glad you have it.
Cold-Weather RV Toilet Checklist
- Identify your toilet brand and model
- Inspect the bowl and accessible rubber seals
- Look for moisture around visible water connections
- Test the flush only when the system is thawed and ready for use
- Close the dump valves and prep the black tank
- Investigate unusual odors, drips, or damp spots
- Check overnight lows and tank heaters, and have a plan for when it does freeze
- Pack a heated hose, RV antifreeze, gloves, and a spare seal kit
A Little Potty Prep Makes for a Better Trip
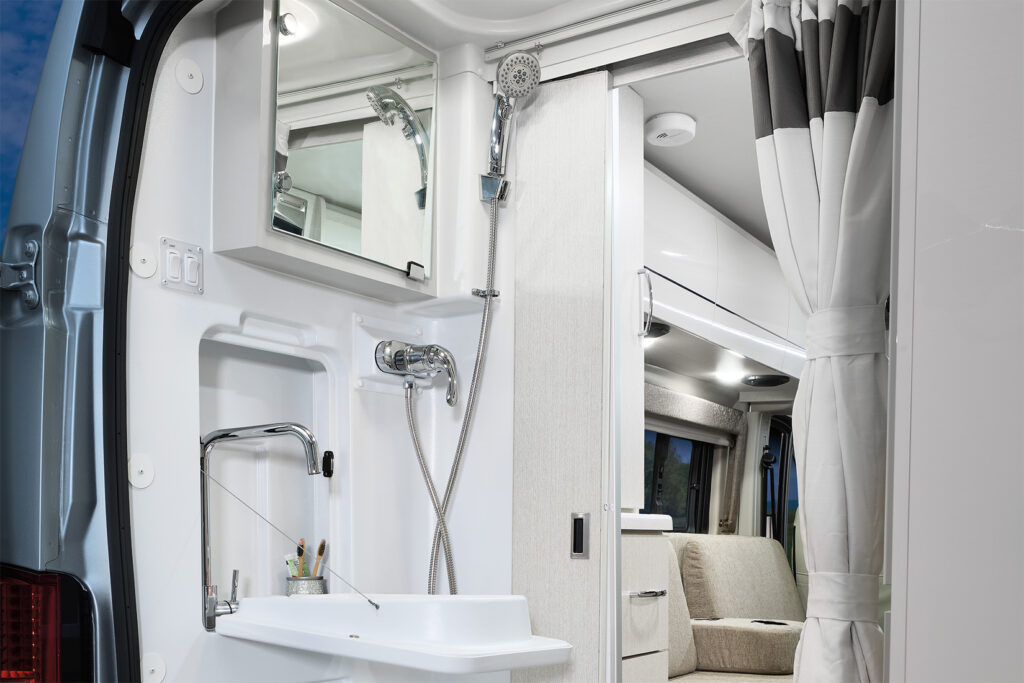
Nobody heads out for a late-season RV getaway thinking about toilet seals or water valves—unless they’ve sprung a leak. Big mistake. A quick cold-weather RV toilet check can prevent an avoidable interruption—including having to cut your trip short.
Sort the practical stuff at home—then get back to the part of RVing you actually came for: the scenery, fresh air, and adventure.