
Some links below are affiliate links. As Amazon Associates and participants in other affiliate programs, we may earn a commission at no extra cost to you. See our full Affiliate Disclosure.
Updated from January 6, 2022. We’ve refreshed this galley favorite with fresh tips for fresh seafood in your RV.
Fresh seafood in your RV? You bet! Your galley is the perfect place to do seafood right. Here’s everything you need to know to make it happen.
Proximity to the ocean gives us more than just great views and sandy butts. It also gives us the chance to score the freshest seafood.
Fan of grass-fed beef? You should try phytoplankton-fed oysters.
Big fan of free-range chickens? Can I interest you in an ocean-range tuna?
Food caught fresh is just finer. Period. Plus, seafood that lived its life in the oceanic expanse is probably freer of stuff we may want less of anyway—like color pigments, antibiotics, and additives, which can be all too common in farmed fish.
And we’d rather take a long walk off a short pier than take our taste buds to a chain restaurant, where you’re just as likely to be feasting on farmed fish from across the country as something caught in the zip code in which you’re eating.
So, the next time you’re parked within an hour or two of the beach, our first recommendation is to find the most local seafood joint you can (not necessarily the most expensive). Ask your server which of their catch-of-the-day options are locally sourced, and pick one of them—even if you have to step outside your salmon-flavored comfort zone. Your taste buds will thank you.
Gather in the Galley
Ready for a master’s level culinary adventure? Go the pro route: Capitalize on the nearness of saltwater by sourcing and cooking some seafood yourself.
Every decent-sized beach town has a fish market where you can find something just off the boat, and this is the perfect place to start.
Even the friendliest markets can be intimidating, though. They inevitably smell funny. They have fish you’ve never heard of. Some of the meat they have seems like it might even be looking at you. Persist. Power through, and profit with these tips for picking the perfect pescatarian provisions.
The Fish, the Whole Fish, and Nothing but the Fish
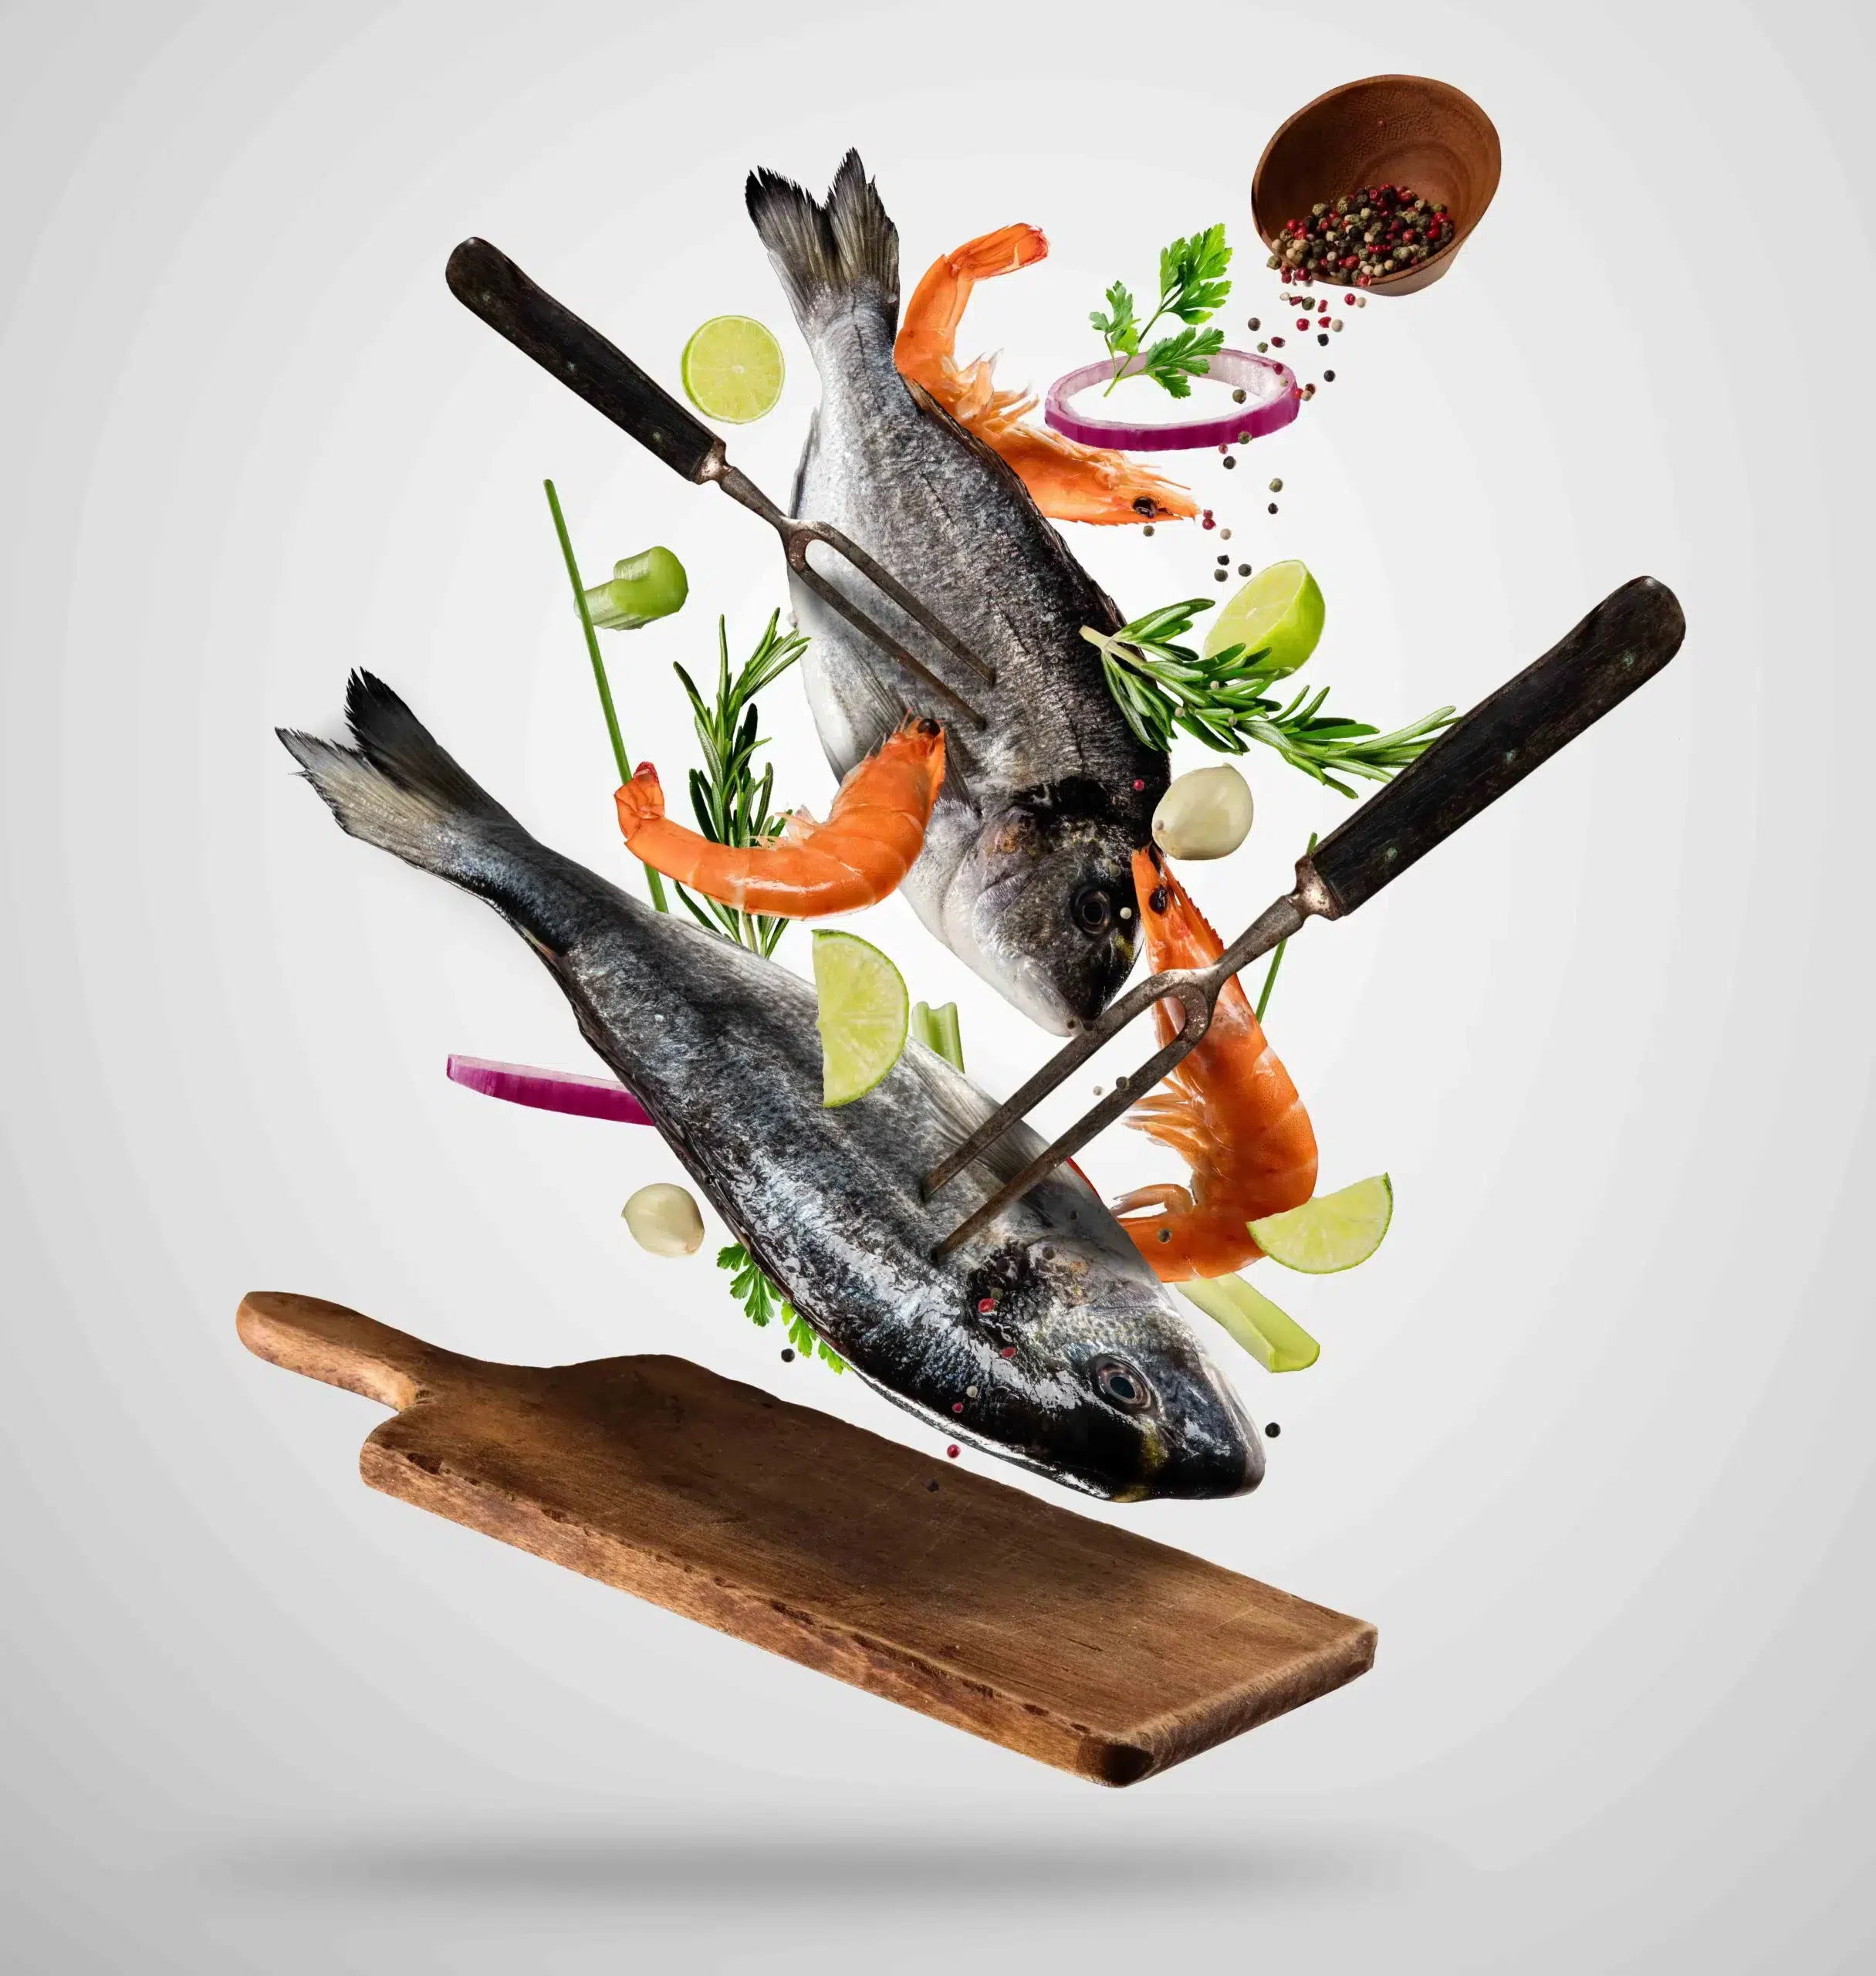
Fish age badly. Most of us are acutely aware of this by smell alone. Indeed, as they lose freshness, their eyes cloud over, and they… stink. So, as you’re picking out your dinner, remember: clear eyes, fresh smell, can’t lose.
Different fish take different preparations, and your fishmonger should be an expert at them all. Don’t be afraid to ask the magic question: How would you recommend cooking this?
Then, your fish guy (or gal) should be able to do most of the prep work for you—removing pin bones, scales, heads, or tails. Leave the skilled prep work to the experts.
Fillets have a much shorter shelf life than whole fish, so if they weren’t cut that day, just ask for fillets to be cut to order.
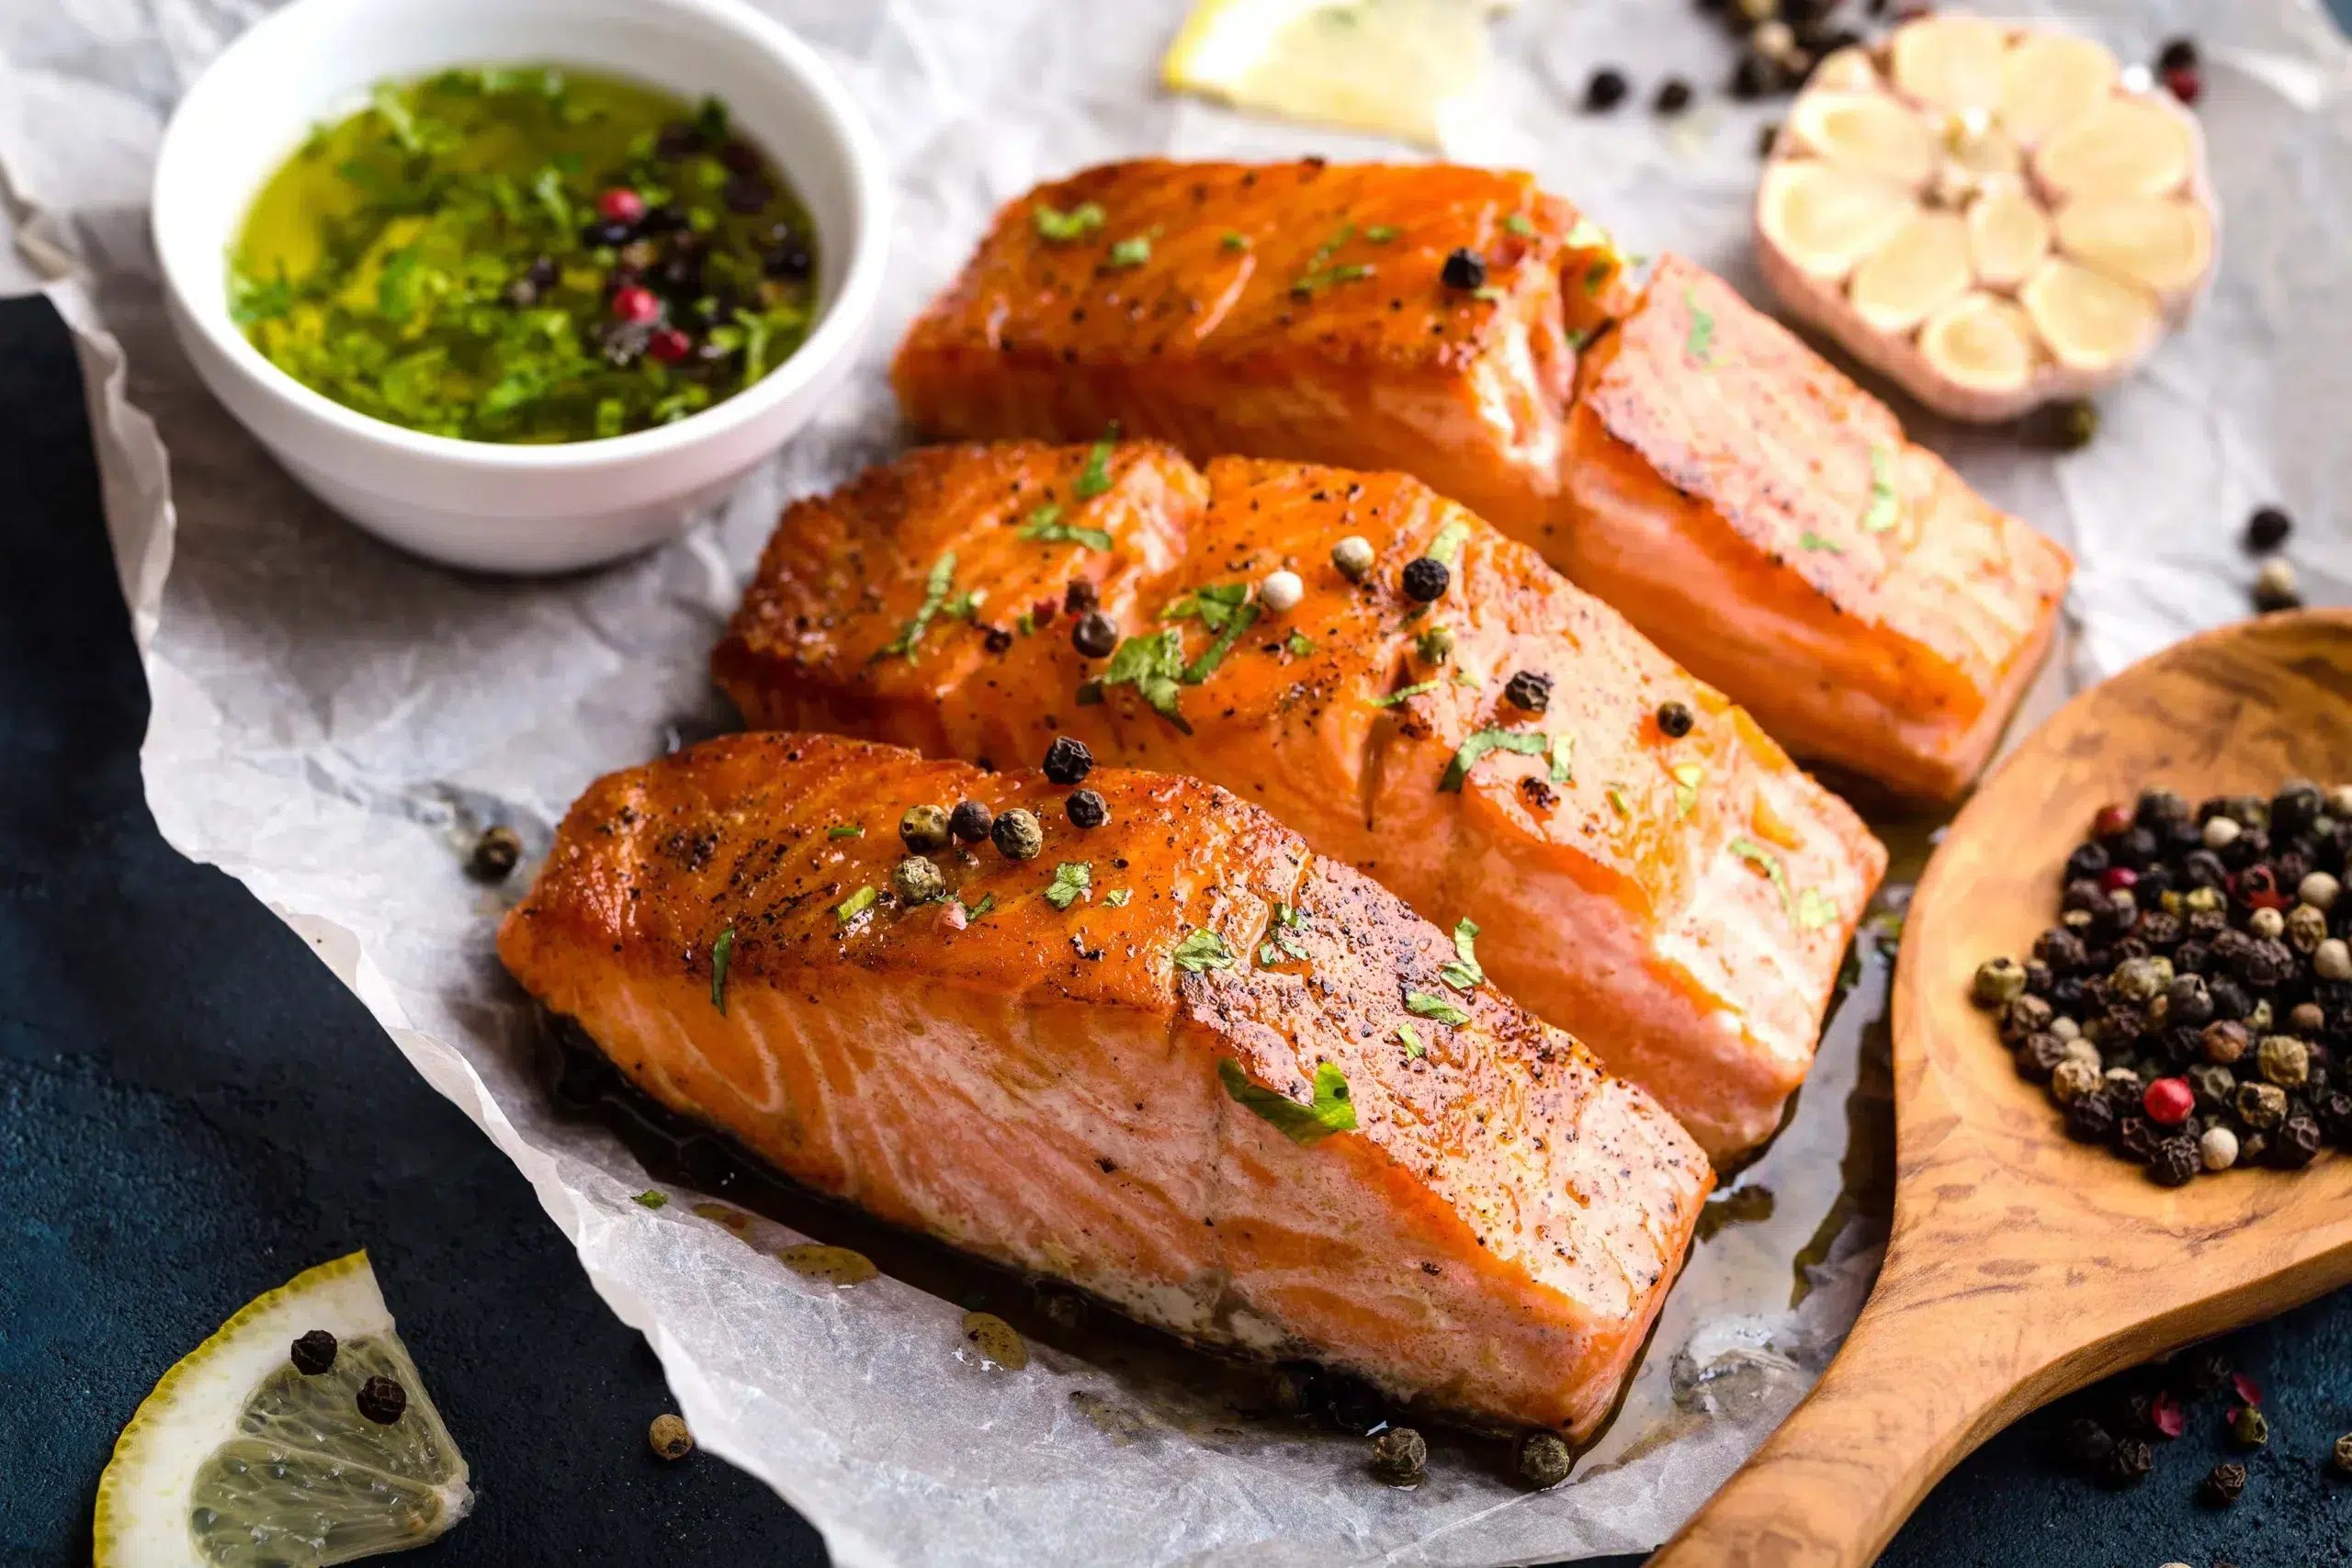
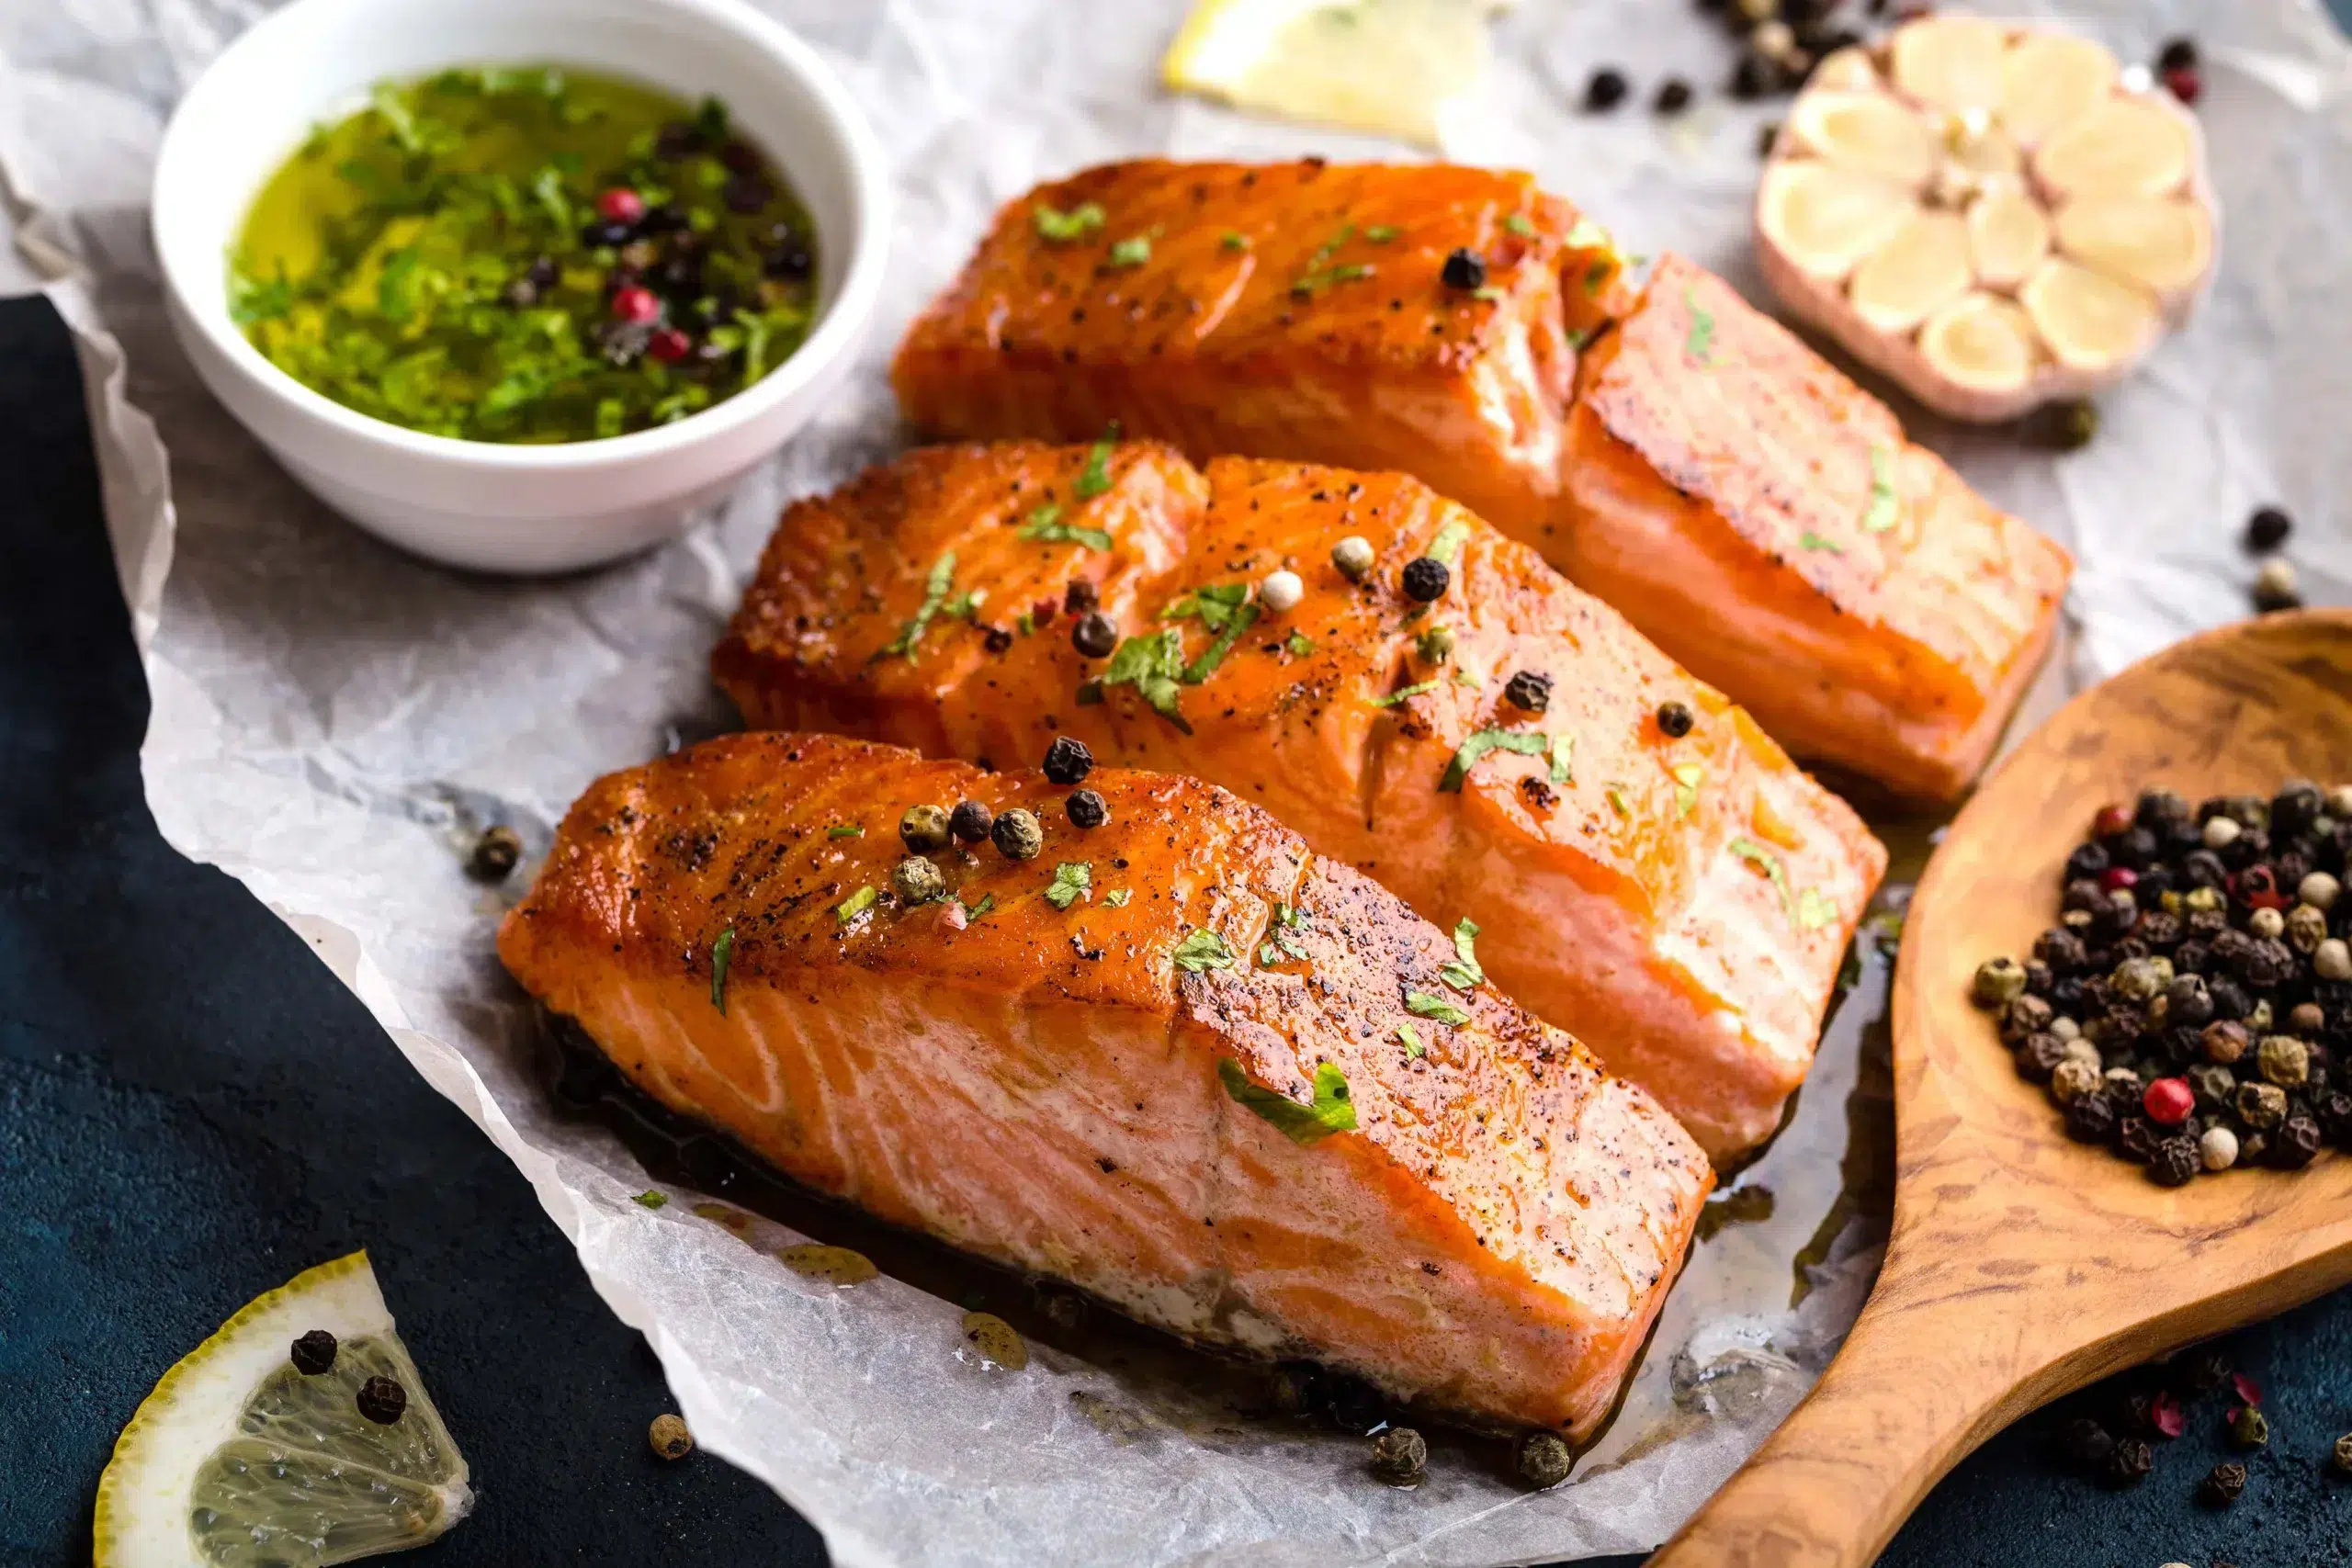
Cooking a great cut of fish is like grilling a great steak: Staying out of the way is typically the key to success. A little olive oil or butter, a sprinkle of salt and pepper, and a spritz of fresh lemon juice at the end are often all you need. Adding a rub of fresh garlic is okay too.
But if you want to go full chef-mode—without all the work and using only store-bought ingredients—a light-colored hummus can work wonders. (The darker varieties end up looking unappetizing once baked.) Season your favorite fillet with salt and pepper to taste, slather a healthy helping of hummus on top, then bake, adding a couple of extra minutes to your fillet’s typical baking time to compensate for the topping. That’s it. Nothing to it.
Mollusks: Beyond the Oyster
Oysters are the shelled darlings of many serious seafood joints, and with good reason: The difference between good ones and bad ones is enormous, and great ones are worth paying for. But unless you’re a shucking expert, a dozen oysters (we like ours on a cracker with a little horseradish and lemon juice) at the campsite is probably more trouble than it’s worth.
Clams and mussels are fun and great for a romantic dinner. But for RVers, cooking them often takes more time, ingredients, and gear than a galley can comfortably handle. That means that when you’re cooking in your home away from home, scallops are where it’s at.
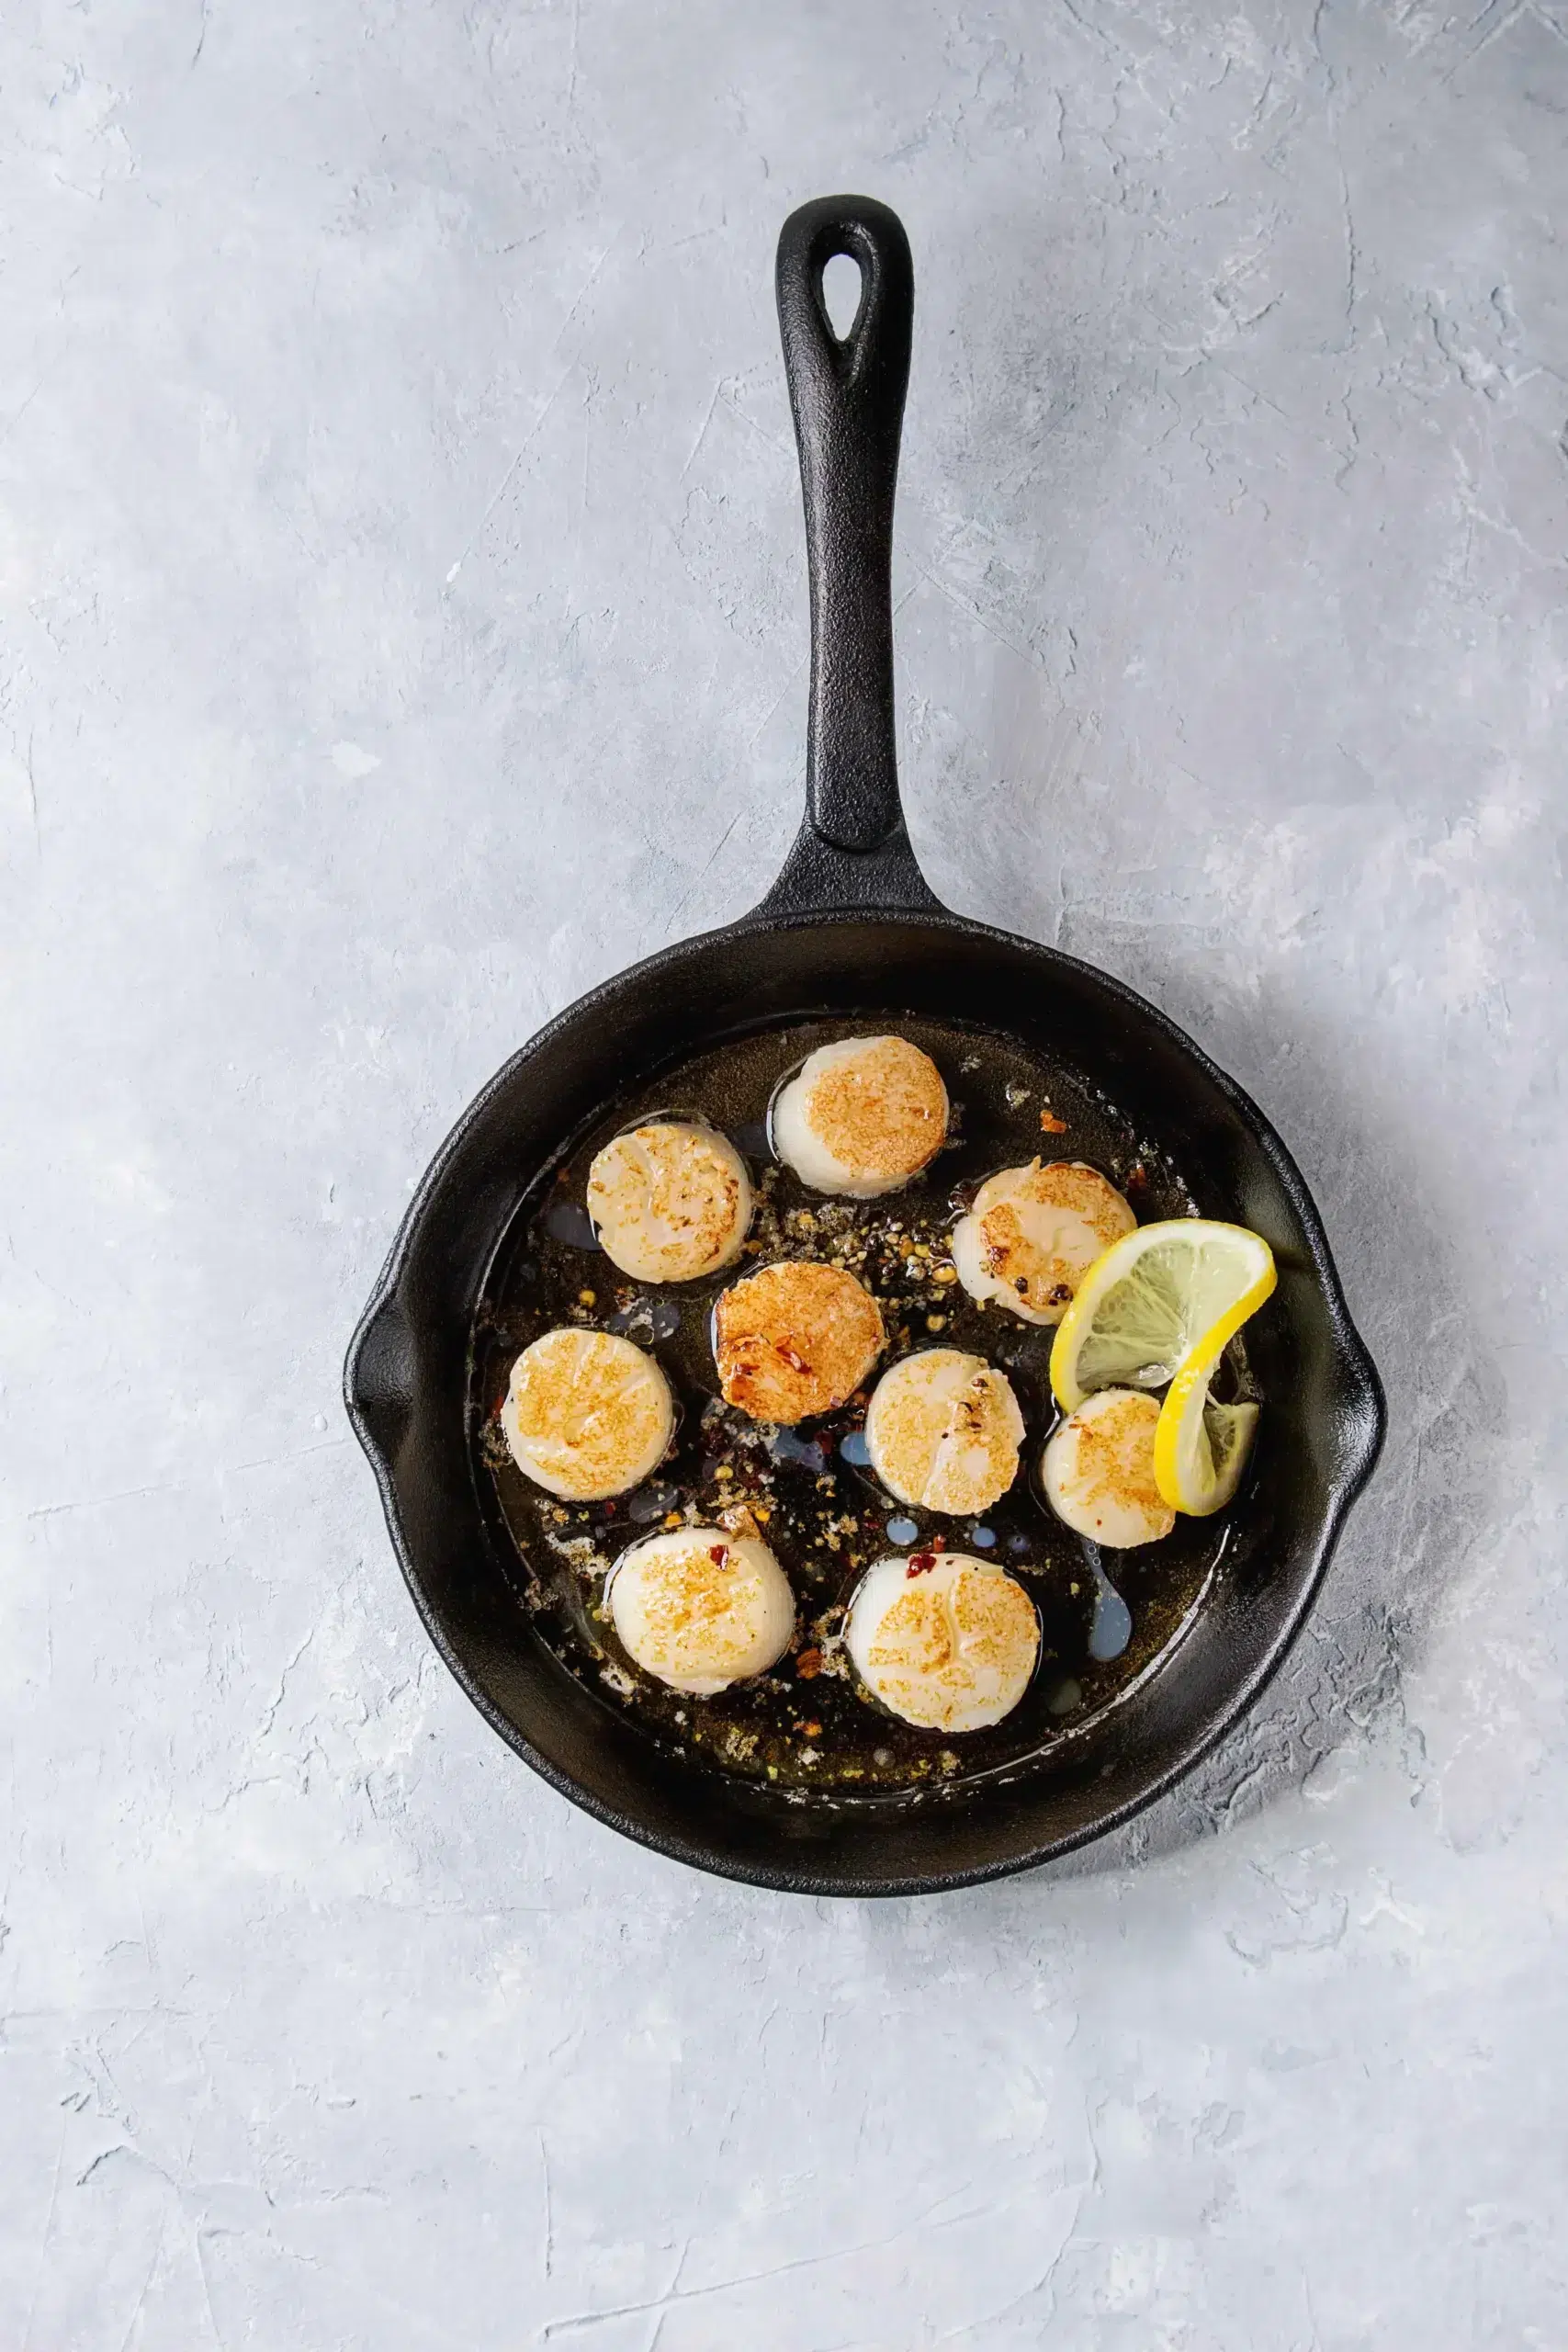
Cooked properly, scallops are buttery, delicious in their unadulterated form, and require almost zero prep work. They’re also extremely quick and easy to cook with nothing more than a frying pan, skillet, or even a grill.
When cooking scallops, there are two absolute keys to success. If you do these two simple things, it’s nearly impossible to mess them up. First, start with the right scallops, and prep them well. At the market, ask for “dry” scallops. (“Wet” scallops are soaked in a sodium triphosphate solution that adds water weight. When you cook them, they weep in the pan instead of browning.)
Like most mollusks, life on the ocean floor often leaves them feeling sandy. You should get your scallops already shucked, but don’t assume that means they’re grit-free. Rinse them thoroughly under cold water, rubbing gently to avoid damaging the flesh while getting all the sand out of the cracks. Then peel off the small, tough side muscle, a little rectangular tab on the edge of each scallop. It pulls away easily with your fingers. Second, do not overcook them. Overcooking them for even a minute will turn their gloriously tender proteins into glorified rubber.
After prepping, let your scallops shine by pan-searing and seasoning simply. Heat a skillet over medium-high heat with a few tablespoons of high-heat point oil. Think avocado or canola oil. Butter alone will burn at searing temperatures, so save it for the end.
Pat the scallops dry with a clean (or paper) towel—surface moisture is the enemy of a golden crust. Season to taste and then add them to a hot pan with a little space between each one and leave them alone for 90 seconds to two minutes per side, depending on the size.
You’ll know they’re done when they’re beautifully browned on both top and bottom, with the centers just turned opaque. Finish with another spritz of lemon juice and a pinch of salt. Or go full chef-mode by finely chopping some chili-roasted pistachios and tossing them in the butter for 30 seconds after the scallops come out of the pan. (Be careful not to burn the nuts.) Finally, spoon the nuts and butter over the top. So good.

It’s OK to Be a Little Shellfish
Americans eat over a billion pounds of shrimp each year—some estimates are closer to 1.5 billion. They’re cheap and easy (the shrimp, that is), and hard to screw up in the kitchen, making them perfect for chefs of any experience level. They even have a built-in indicator when they’re cooked properly: When they turn pink and curl into a loose C, they’re done. If they curl into a tight O, they’ve gone too far.
Any RV with a heat source and a pan of any type can handle them. One caveat: Most shrimp sold in the U.S. is farmed and imported. When you’re on the coast, look for local wild-caught shrimp, like Gulf or South Atlantic whites and browns. There’s a world of difference in flavor.
Speaking of flavor, shrimp are a sponge for it, pairing well with just about any flavor profile. The possibilities—nearly endless. Toss peeled shrimp in almost any sauce with pasta. Put them in a taco with almost any accouterments. Or salt, season, boil, peel, and eat with any old cocktail sauce. Mykelti Williamson as Bubba in Forrest Gump had it right. Shrimp really is the fruit of the sea. You can barbecue it, boil it, broil it, bake it, sauté it… all from your favorite RV’s galley.
Galley Smarts: Storage, Safety, and Smell
Fresh seafood is only as good as the trip home. Bring a cooler with ice packs to the market, especially in summer and warm fall or spring days, and get your catch into the fridge as soon as you’re back at your site. Plan to cook fresh fish and shellfish within a day or two. If your plans change, most fish freezes well when wrapped tightly. Just thaw it overnight in the fridge—not on the counter.
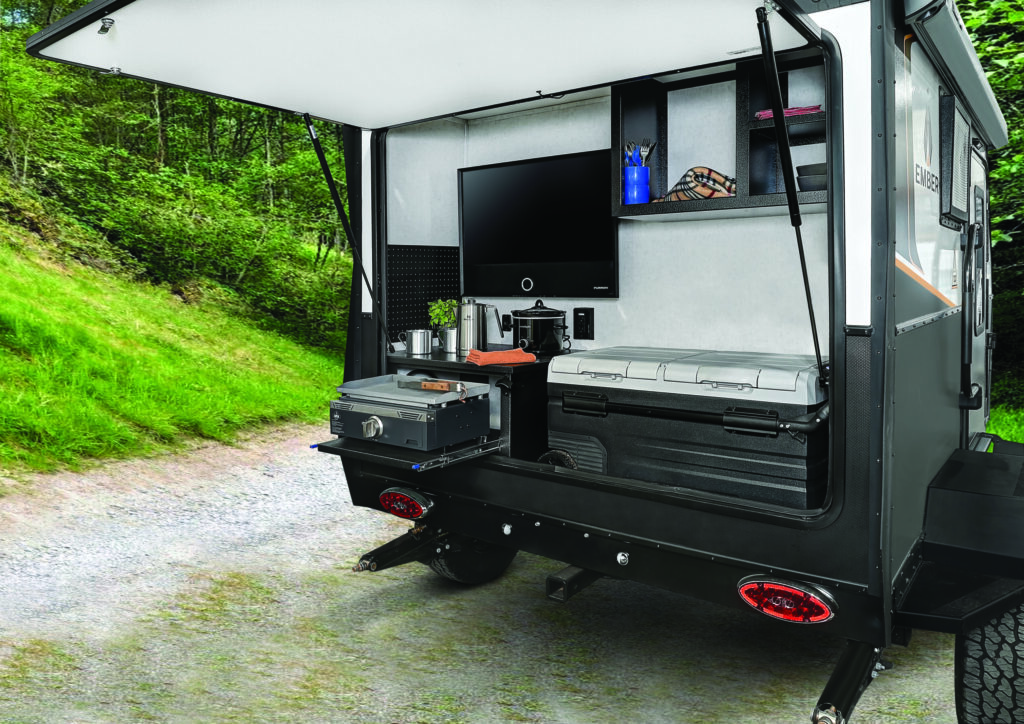
Then there’s the smell. A seared fillet is wonderful at dinner but a whole lot less wonderful if it’s still lingering in your rig in the morning. Whenever the weather cooperates, take the cooking outside to the grill, camp stove, or even campfire. If you’re cooking inside, run the range fan, crack a roof vent or window, and take the trash with the shrimp shells to the campground dumpster right after dinner. Don’t let them sit overnight.
Wherever the road takes you along the coast—to Washington state to Florida—let the local catch steer the menu. A hot pan, a squeeze of lemon, and a little curiosity are all it takes to turn your galley into the best seafood joint around.