If you’ve ever done even some minor changes to your RV, you’ve probably noticed that nothing seems to work the same way it does in a more traditional house. RVs are, indeed, their own beast. Laminate cabinets, industrial staples throughout, and weight limits and balance issues can have a serious ripple effect on the project. Let’s just say that RV renovation takes a whole new playbook.
To map that out, we talked with Alice of Rain2Shine Ventures, who’s spent the last several years transforming RVs of all ages into fully custom spaces—first for herself, then for folks who found them through social media, the internet, and word of mouth. Now, it’s a full-time business.
Her background isn’t in construction exactly, but it did set her up for this kind of work. She spent decades working with and learning from her dad at his property management business in Greensboro, North Carolina, before moving on to interior design and architecture. She’s always had an artistic eye and a creative streak and has taught herself the skills to bring her ideas to life.
Today, she’s no longer entirely on her own. As her business grew, there were too many projects in her workshop to keep up with the other side of the business. Her sister, Mary Knox, had spent several years in New York City before moving to Washington, D.C., where she worked as the assistant to the head of marketing at National Geographic. After eventually returning to North Carolina and spending a couple of years pursuing other opportunities, she joined her sister in the business.
In addition, Alice’s husband—a 30+ year NASCAR aero engineer—runs his own, separate business building hot rods out of the same workshop. In Alice’s words, he’s the best person to bounce problems off of when she’s stuck.
“He’s brilliant,” she says. “He knows how to build anything. Anytime I run into a problem, he’s shown me.”
Now that she has several years and dozens of RV renovations under her toolbelt, though, Alice is pretty self-sustaining. And she takes pride in being able to figure it out on her own.
We asked Alice to break down the hows of RV renovations—whether you’re ramping up for your first weekend project, struggling with what to do on that one sticking point, or looking to hand it off to a pro.
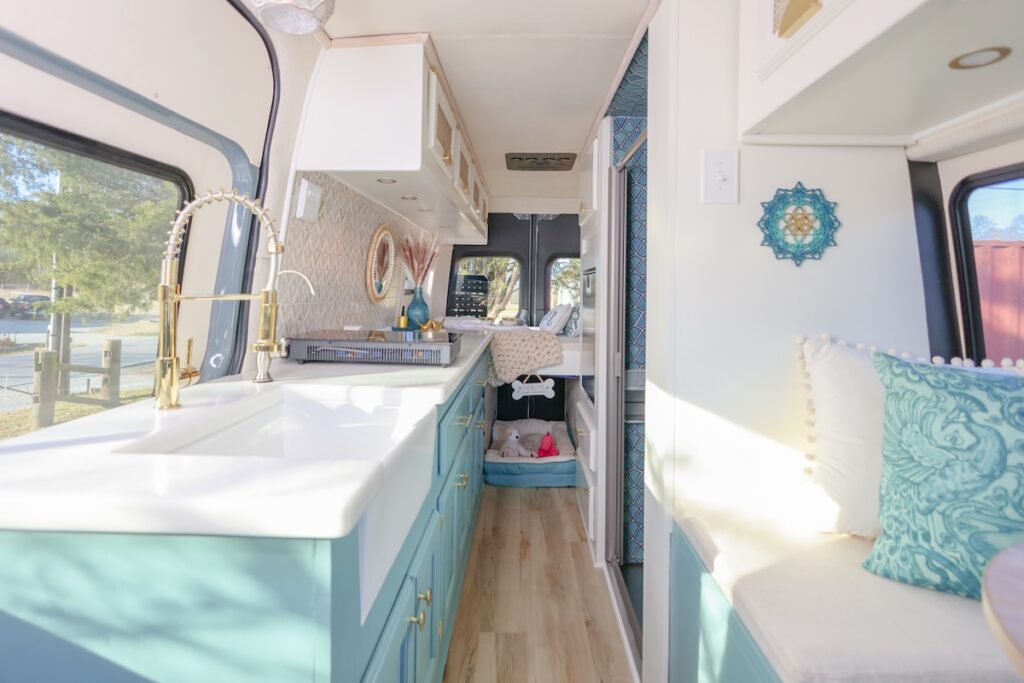
Alice’s Signature Projects
Alice’s RV renovation journey started with her own camper: a 2003 Holiday Rambler fifth wheel she bought in 2020. This personal project started during her separation and divorce to allow her to finally travel on her own terms in a way she had been putting off.
She began sharing the renovation with friends and family on social media, and people started asking if she’d take on their campers too. It’s still one of her most referenced projects, and she says she has a soft spot for fifth wheels because of it.
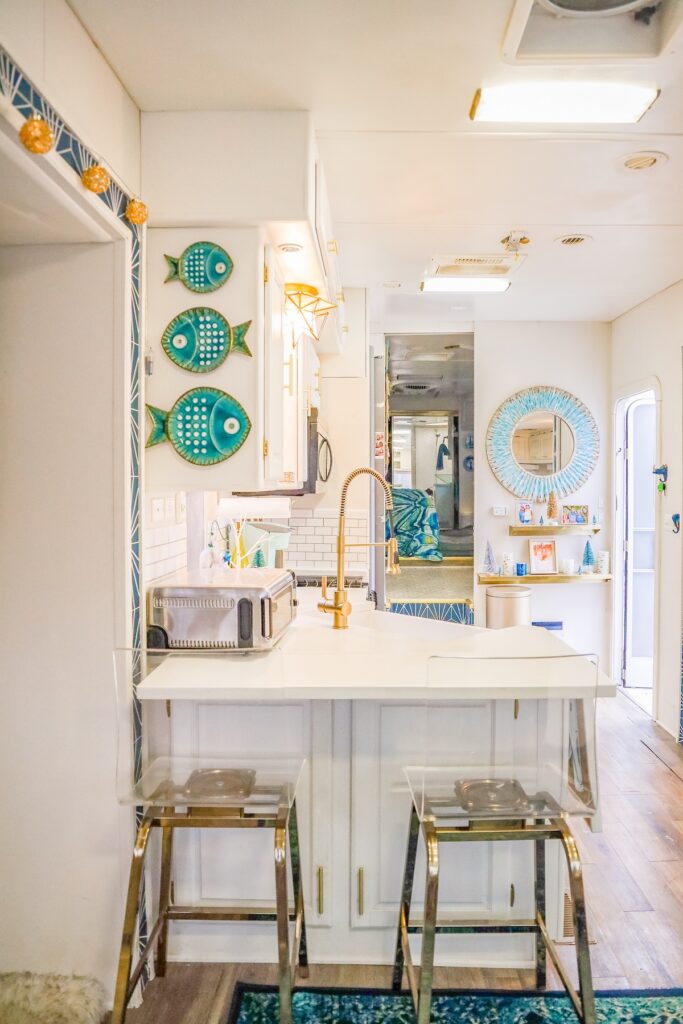
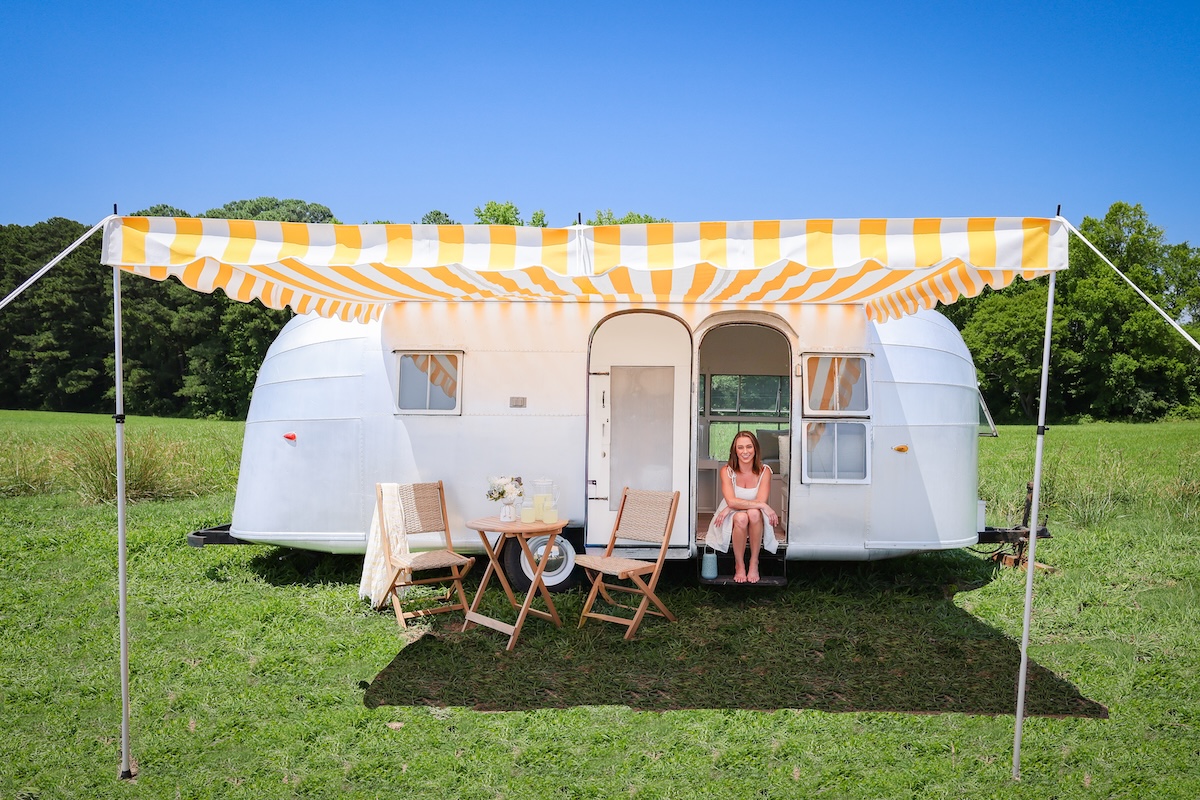
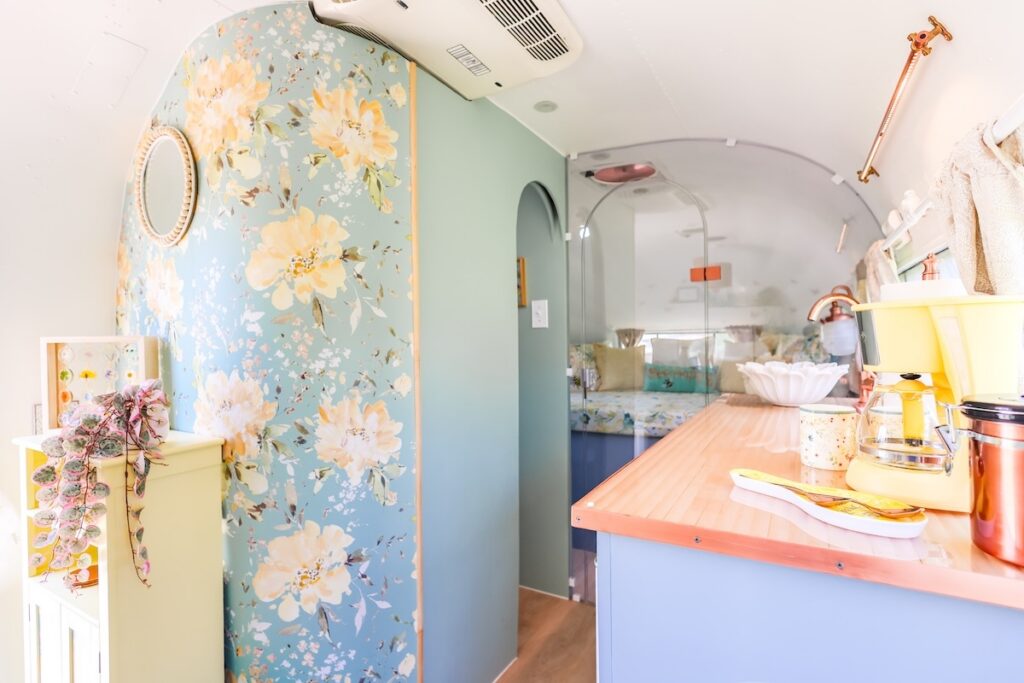
The project she’s probably most proud of, though, is a vintage Airstream. It arrived as a bare-metal shell, and she rebuilt it almost entirely from scratch for her client as a “guesthouse” that would fit well with the rest of the property.
Alice built the couch that doubles as a bed herself, the bed in the back, the bathroom, and a custom coffee bar. She deliberately worked through the project without leaning on her usual support system. Mostly to prove to herself she could figure it all out. It was, by her account, more mentally and physically exhausting than any other project, but also the one she enjoyed most.
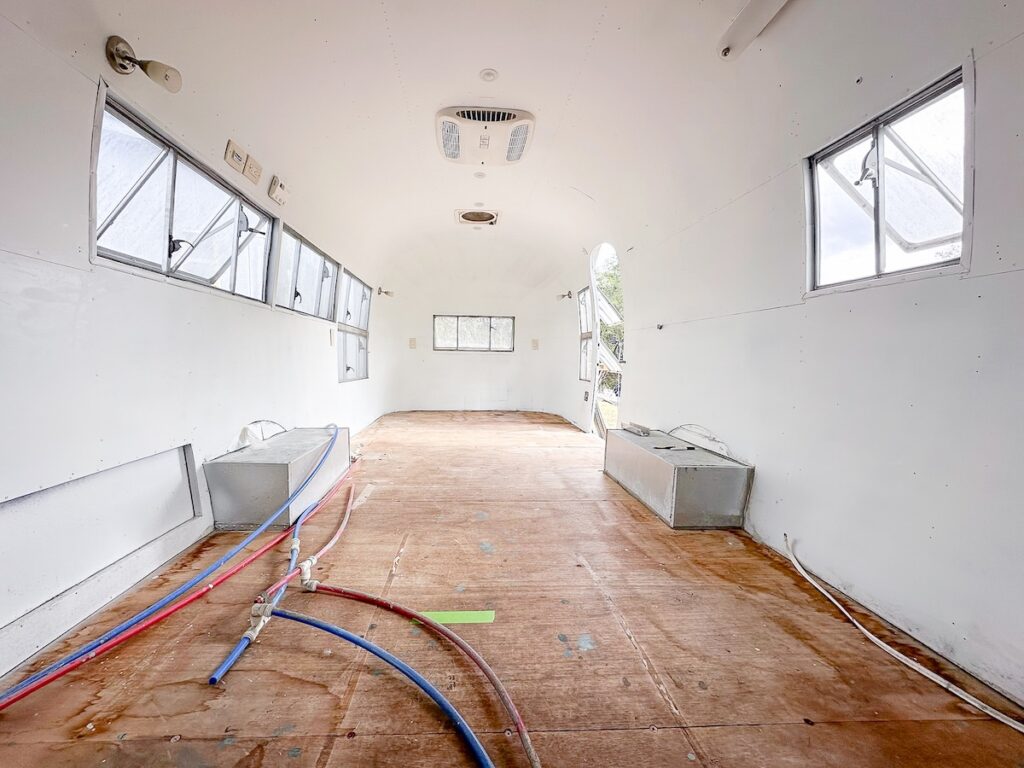
It’s the project that gave her the confidence to build from nothing, not just renovate what already existed.
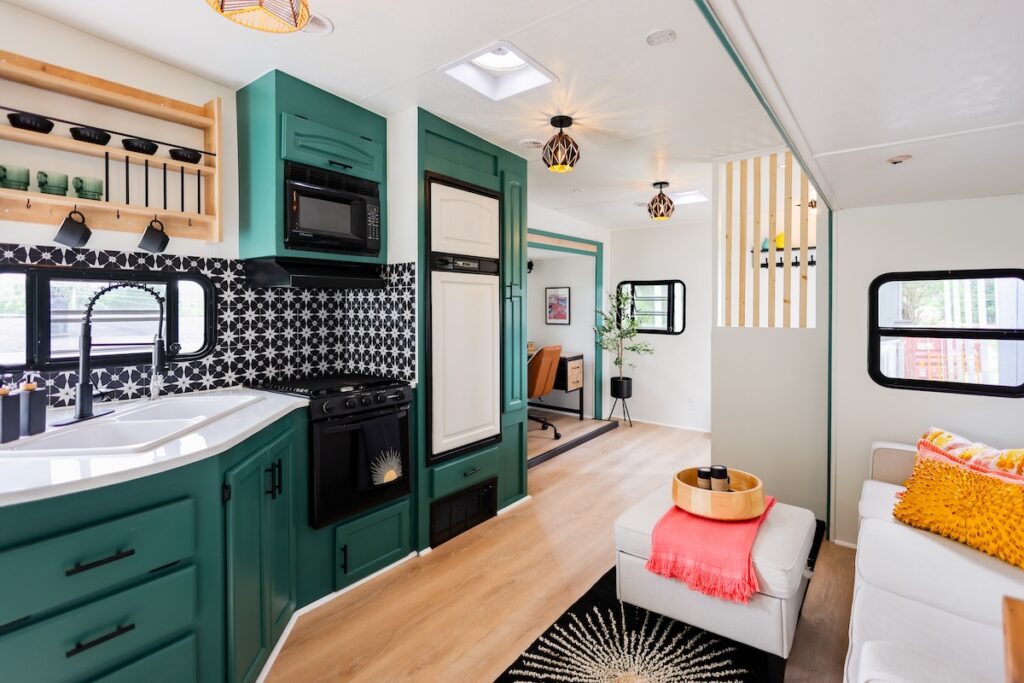
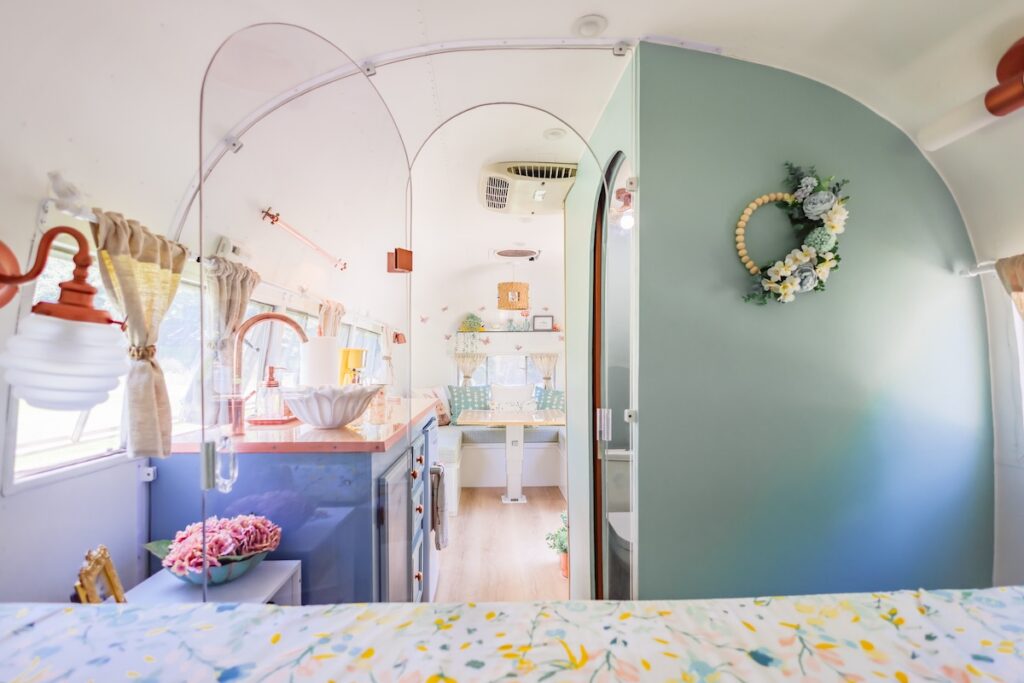
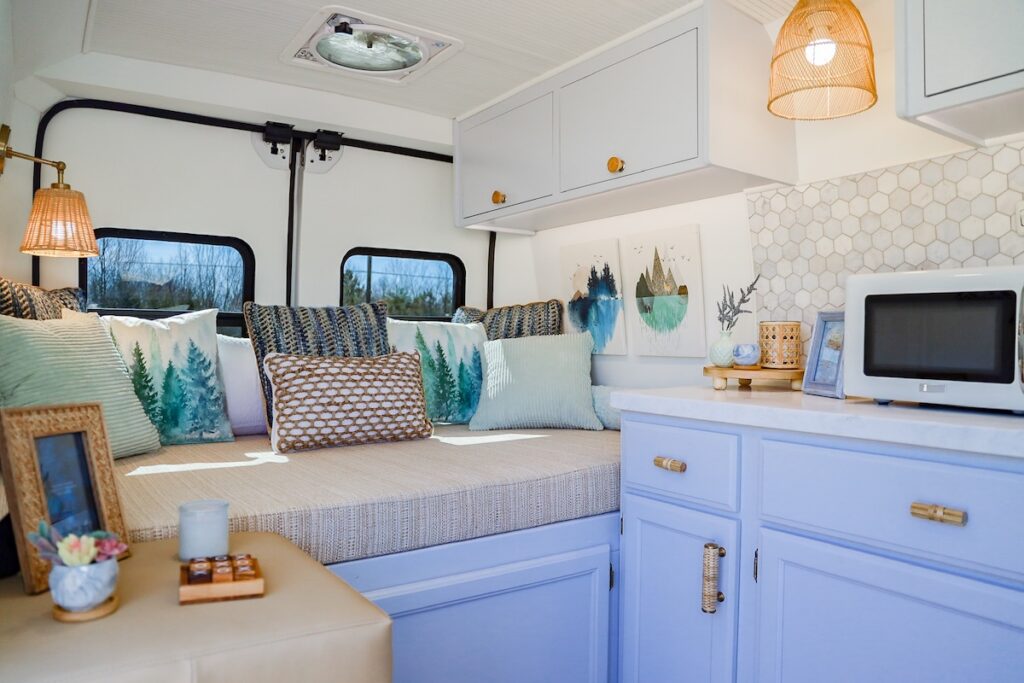
Two other projects—nicknamed Cricket and Indie—stand out for another reason: color. Alice doesn’t default to the white, beige, grey neutral palette that dominates the RV space. Indie’s kitchen went bold blue. Cricket’s bright green. Both are among her favorite finished spaces.
Cricket also came with an unusual challenge: the clients had a dog and a cat, and they needed somewhere to keep the litter box that the dog couldn’t get into. So, Alice built a lift-top box with a cutout sized only for the cat that also doubled as furniture.
While she loves getting covered in sawdust and paint splatter, she also enjoys sharing what she learned to help others tackle their own RV renovations.
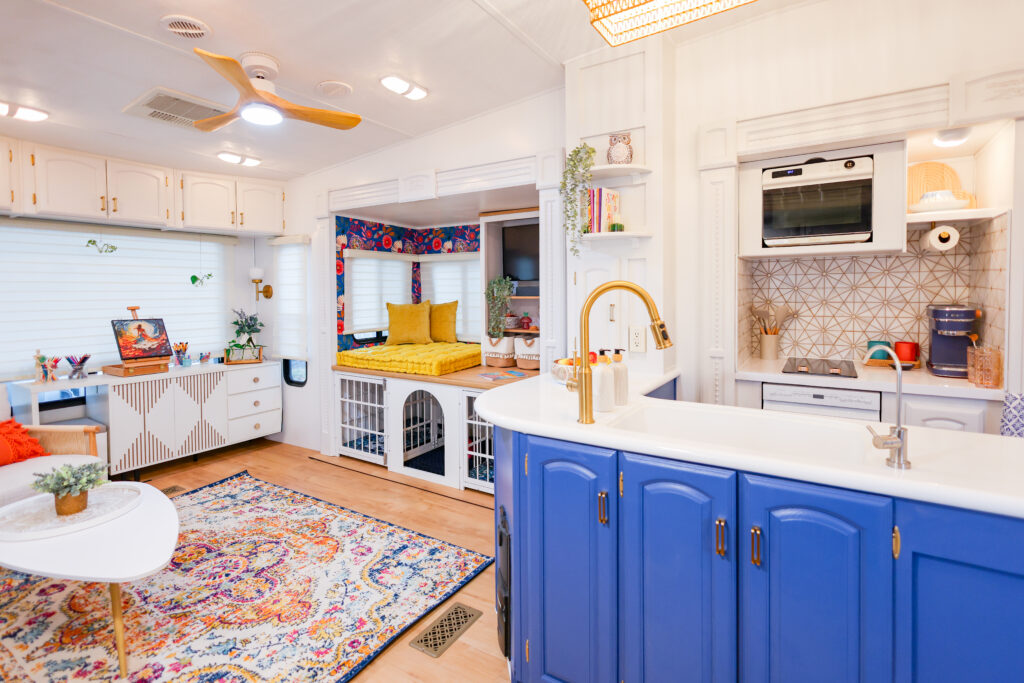
Beginner Projects: Building Confidence
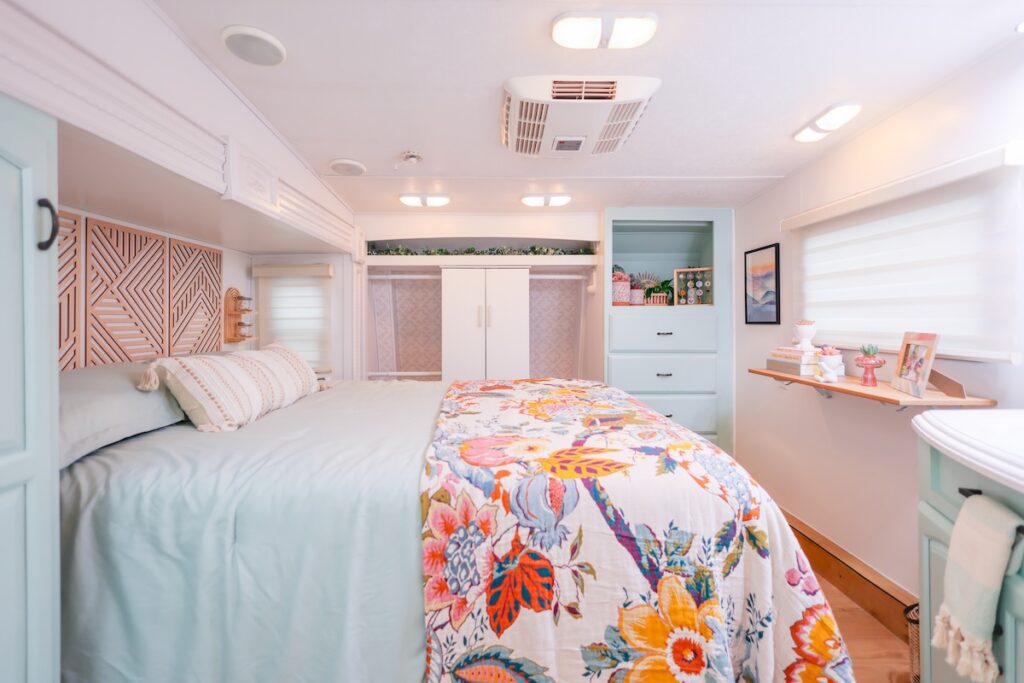
If you’re just getting started with RV renovations, Alice’s advice is simple: start with paint. It makes the single biggest difference of any renovation. And unlike so many other projects, it doesn’t really require specialized skills. What it does require is time and patience.
And that really starts with preparation. Unlike many home painting jobs, when you take on your RV space, don’t expect to have it all done in a weekend. Most RVs are covered in vinyl wallpaper. And paint doesn’t stick to vinyl. At least not until it’s properly prepared.
Every painting project starts with sanding and a very thorough cleaning—often with a good degreaser. Then it’s time to prime. Finally, you open the can of the chosen paint color and start transforming the space.
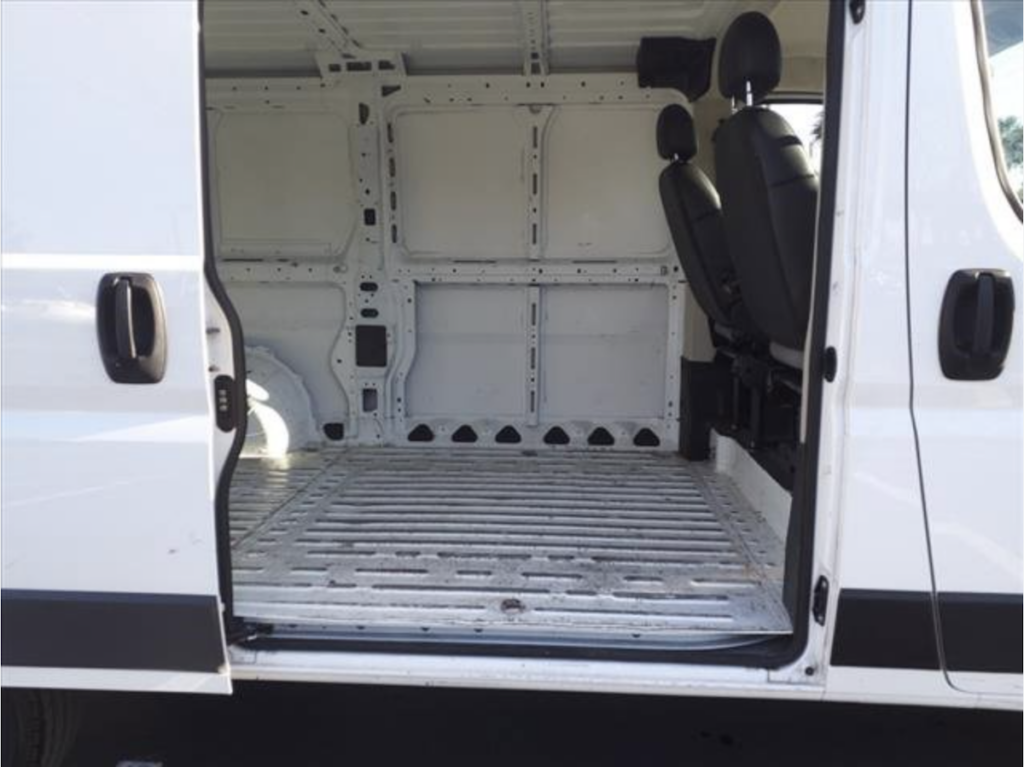
If you have an older RV, say before the early 60’s, with real wood cabinetry, it’s often more forgiving. Newer RVs, though, are usually built with MDF or laminate-wrapped surfaces that require more aggressive sanding. Otherwise, the primer won’t grip.
A few tools make this process significantly smoother (pun intended):
- A cordless sander—it can save your shoulders and speed up the prep work.
- A paint sprayer—for a smoother, more professional finish, as it doesn’t leave behind visible brush strokes
- An oscillating multi-tool—Alice’s go-to for pulling up staples, cutting through layered carpet, and handling all of the stubborn fasteners RVs are so notorious for
Alice says the most common mistake—made by beginners and more advanced renovators alike—is skipping steps, especially the sanding. Unfortunately, if you skip that step, the new paint has nothing to bond to. Alice has redone a number of jobs and has found, “When you start sanding, and somebody didn’t sand before, the whole layer of paint comes right off.”
In other words, this step is often the difference between a renovation that looks good for maybe a few months before it starts peeling and one that holds up for the long haul.
Intermediate Projects: Leveling Up
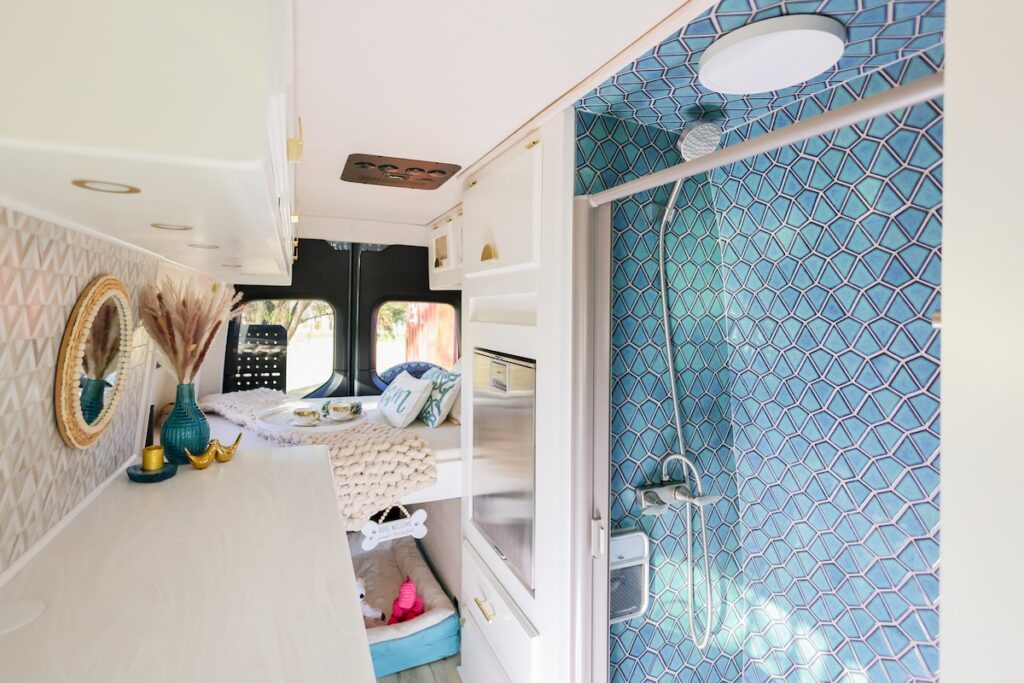
Once you’ve finished with the paint job and like what you see, you may be ready to take on your next project. Tile, Alice suggests, is a natural next step. She rarely uses peel-and-stick, preferring real tile for backsplashes and accents. It adds a bigger visual impact without adding much weight since it’s confined to smaller areas.
Weight, of course, is a reasonable thing to worry about in any RV renovation. But Alice has discovered it’s less of an obstacle than most people assume. The bulky factory furniture that often gets removed during a renovation is usually significantly heavier than whatever replaces it.
The real consideration: balance. You want to make sure weight isn’t concentrated on just one side of the RV. That’s part of the reason manufacturers avoid stacking every appliance down one single wall.
What separates a beginner project from an intermediate one, in Alice’s view, isn’t the material. It’s the precision. For example, she’s currently reworking a camper that had previously been renovated, and the paint is peeling because steps were skipped. She’s also seen tile jobs where a DIYer cut around the old tile rather than pulling it up, leaving a visible gap along the edges.
Slowing down, taking your time, and doing it right the first time, every time, is what moves a project from looking pretty DIY to looking highly professional. Whether you hired a professional or did the work yourself.
Intermediate projects can also include reworking the layout. Flipping where a couch or dinette sits, for example. As long as it doesn’t touch the existing plumbing or electrical. That’s often the line that separates intermediate RV renovations from advanced.
When to Call in a Professional
Some projects cross a threshold where DIY becomes a much bigger undertaking. And some people honestly don’t want to take on the smaller projects. (Painting and all the prep it involves, for example, can be grueling work.) That’s completely understandable—not all of us have the time or inclination.
There are times, however, when it makes sense to pull in the pros. For example, full gut-and-rebuilds, van builds from scratch, and anything that requires relocating plumbing or electrical—such as adding a washer/dryer where there wasn’t one, moving tanks, running new wiring through the walls—fits into that category. These aren’t necessarily impossible for a determined DIYer, but they do often require a different skill set and carry a larger financial risk if something goes awry.
Alice’s rule of thumb: there’s almost nothing in an RV renovation that can’t eventually be fixed. The bigger risk, especially with older or vintage RVs, isn’t permanent damage—it’s sourcing harder-to-find manufacturer parts once something breaks.
If, as well, a project starts requiring you to buy tools you’ll likely use only once, that’s another sign it may be more cost-effective to bring in a professional than to take it all on yourself.
Part-Time Pros: Consultations to Move Your Project Forward
Not every project needs a full hands-on renovation. Often, people just need someone to bounce ideas off of or some expert guidance if a project gets tricky. Rain2Shine Ventures offers consulting for that reason: a lot of people want expert guidance but don’t want to hand off the whole job. That can mean design help, product sourcing, or simply answering “how do I do this?” questions. Services are billed hourly and scoped around the client’s budget. And sometimes Alice already has a video of the job ready to share for free.
One consulting example Alice mentioned was a client who wasn’t renovating at all; she was just trying to make her existing space more functional. Because of her business, she was storing essential oils under the bed and needed organizational solutions designed around very specific measurements.
Advice for Your First Weekend Project
If you’re now inspired to get started this weekend on your project, Alice has some important advice: “Have a plan before you pick up a single tool.”
Paint comes first. Always. Flooring comes second. Everything else—the backsplash, wallpaper, a custom headboard—comes after those foundational projects are done. And from there, you have way more freedom (and experience) to tackle the next projects.
Her other well-earned advice, which came up again and again in our conversation: invest in the right tools before you start. It won’t just save you time—it can be the difference between a renovation that holds up and one that you’ll be redoing again in a year or so. And not because you don’t love the color scheme.
Your Own RV Renovation
Alice’s expertise doesn’t come from a textbook. It comes from doing. Her eye for design goes back to her childhood art classes, creative streak, and passion for design. Her mechanical instincts trace back to all the years she spent working alongside her dad on thousands of properties. Those two threads eventually met to become Rain2Shine Ventures—a name she and her sister took from their childhood nicknames: Rainbow and Sunshine.
Alice doesn’t chase renovation trends. She’s not steering every client toward “safe” resale-friendly neutrals. You know, the ones that dominate so many RV models. Alice emphatically states, “Don’t paint your house or your RV just for resale value. Paint it for you! You’re going to be the one enjoying it.” For her, that’s often a lot of color. But she always takes her client’s lead to create the space they’ll love, never pushing her bold color palette on those who prefer a more muted space.
Wherever you land on the color or ability spectrum—beginner, intermediate, or “I’m calling a professional”—keep these principles in mind:
- Don’t skip steps.
- Don’t be afraid to make it your own.
- And build confidence one project at a time.
“Anybody can do anything they put their mind to,” Alice says. “You’re just going to have to have the time and patience to do it, find some good mentors, or watch a lot of videos on how to do it.”
You can see more of Alice’s projects on Rain2Shine Venture’s website, Instagram, and Facebook.